Photo Directory 2
Welcome To My Homepage /
How I Got Started /
Starting with a Taxi /
A Feast on Bologna Sandwiches
Not Just for the Money /
Four Magic Words /
Church Floor /
Steaming and Bending Flooring /
Missing Money ? /
Rollercoaster Ride /
Painting Gym Floors Basketball Lines /
Old Schoolhouse Floor Repair /
Poor Man's Walnut Border /
Inlaying Wooden Goldfish /
Photo Directories
My photo page is a perfect place to display photos of family, vacations, products, games, people, and more. On some photo pages, I have the option to add a title or brief description of each photo in the caption beneath it.
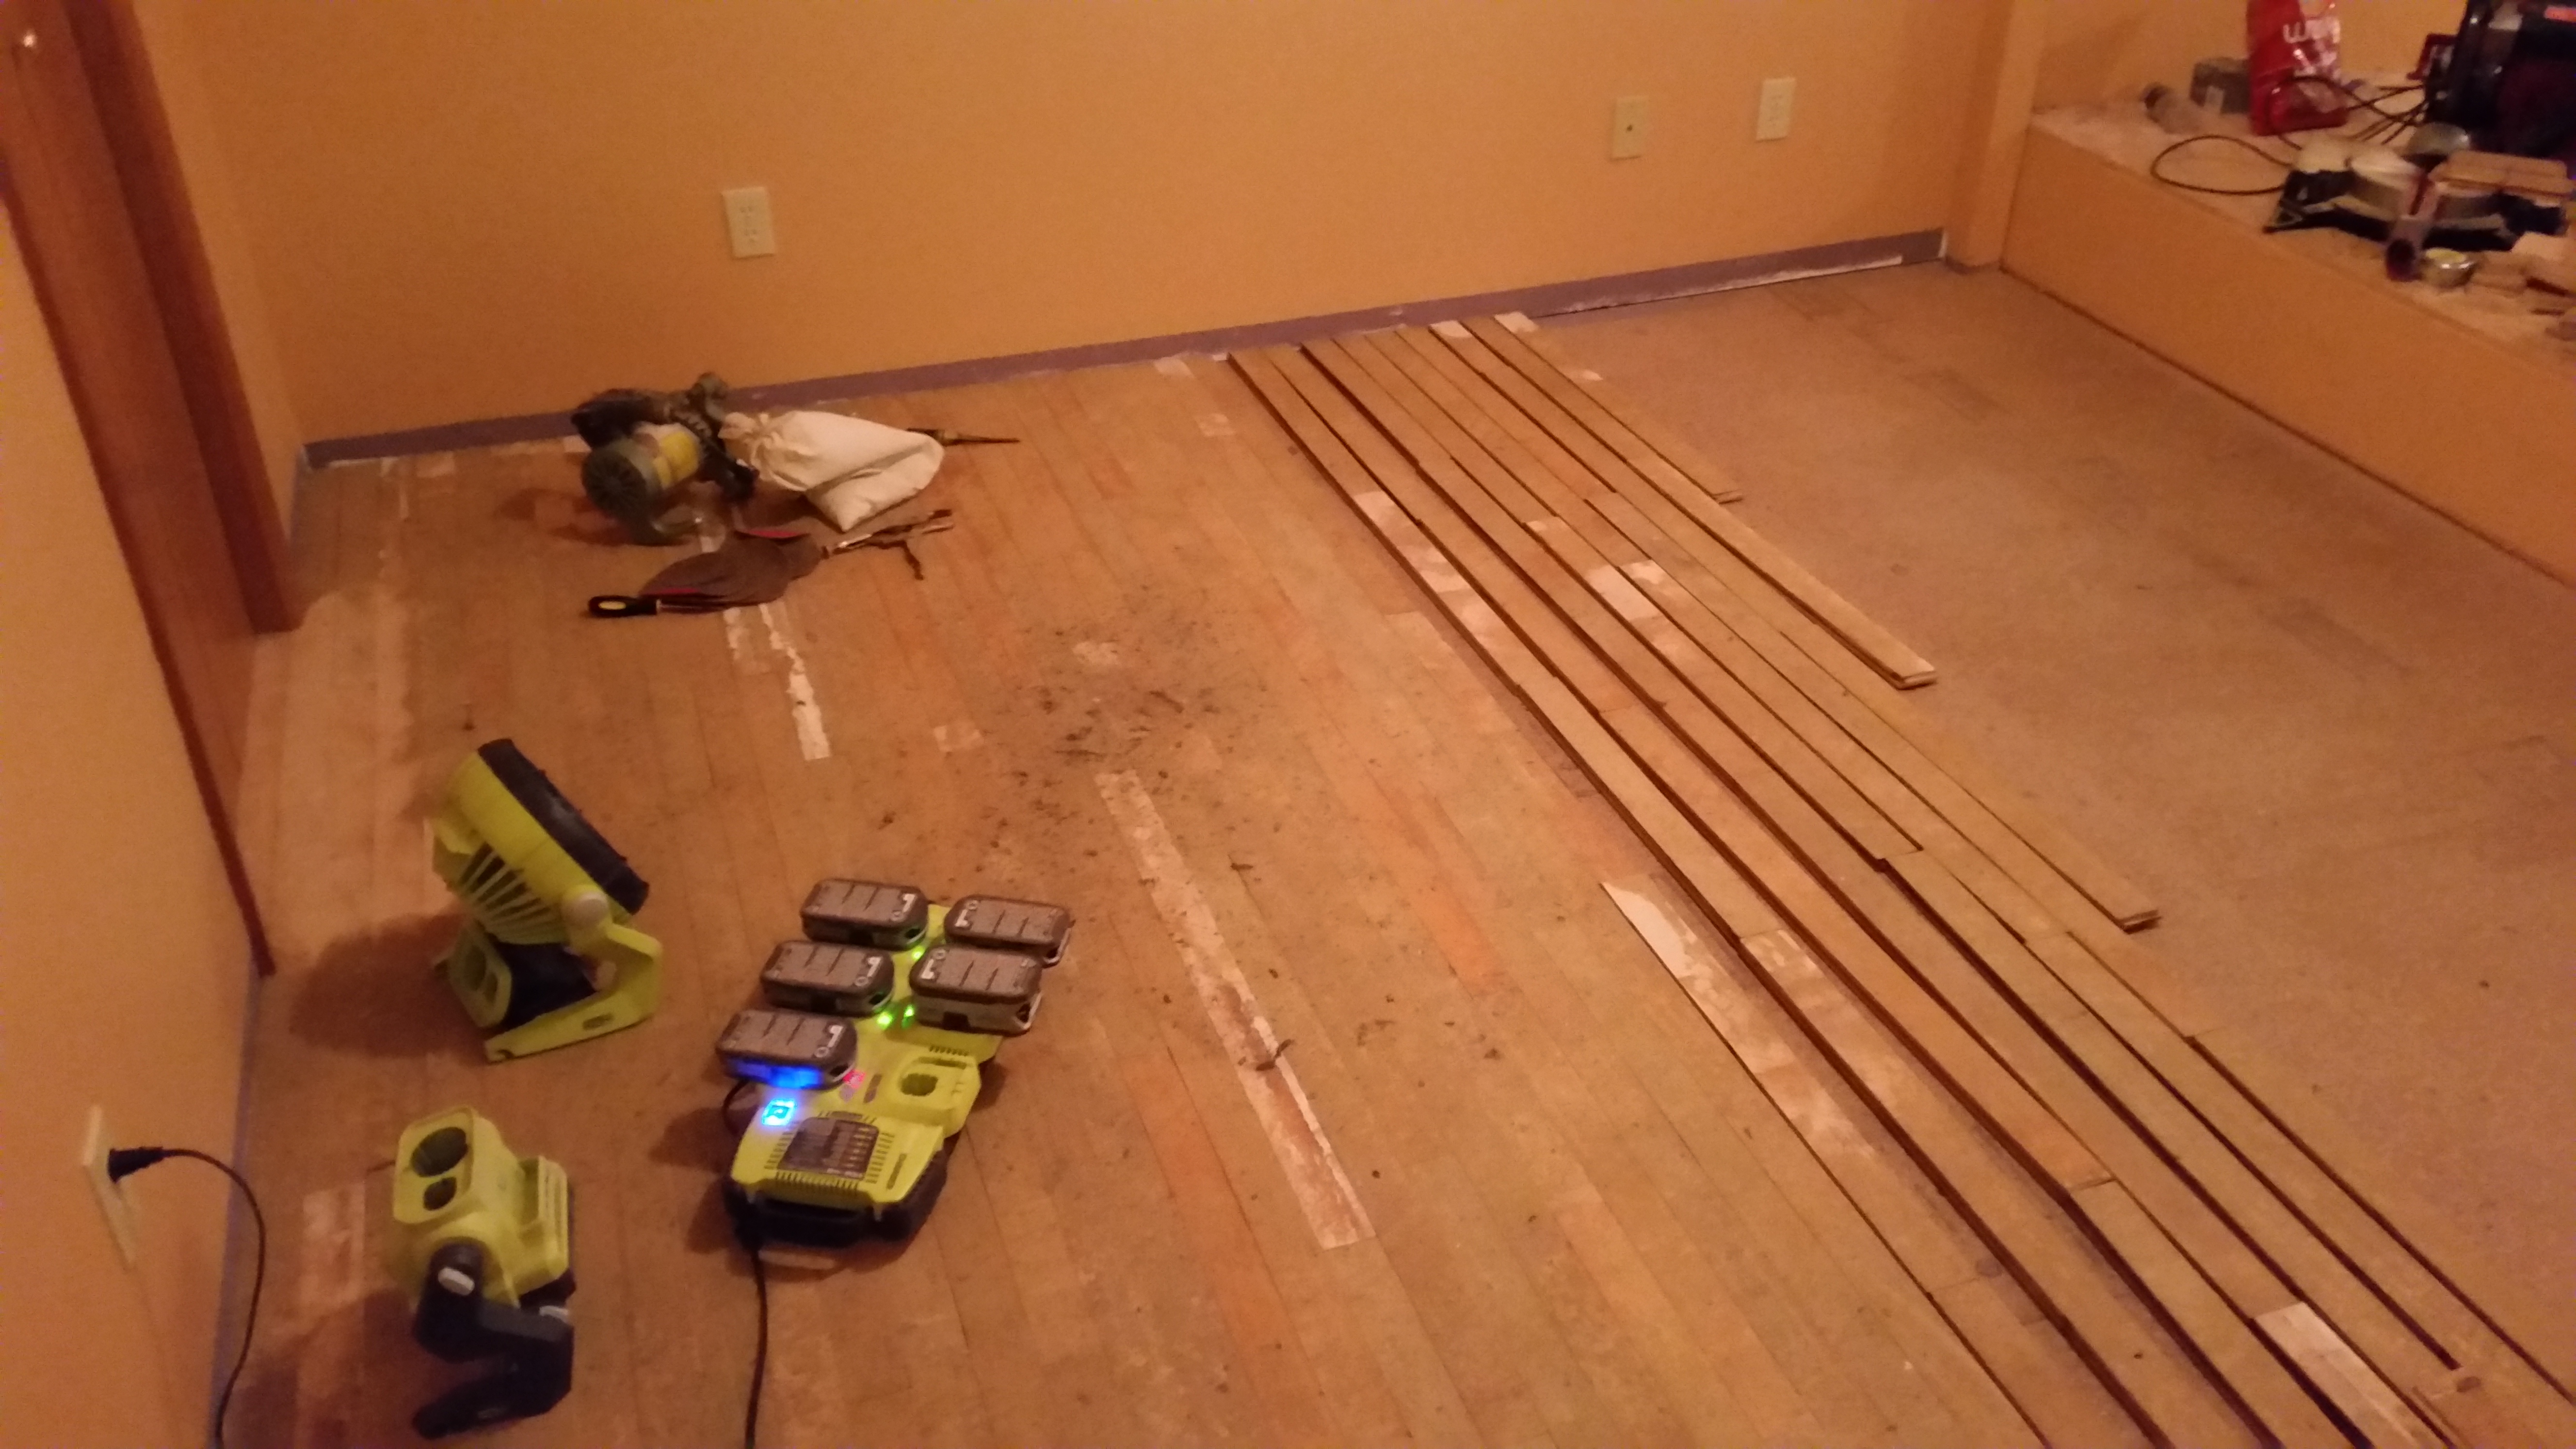
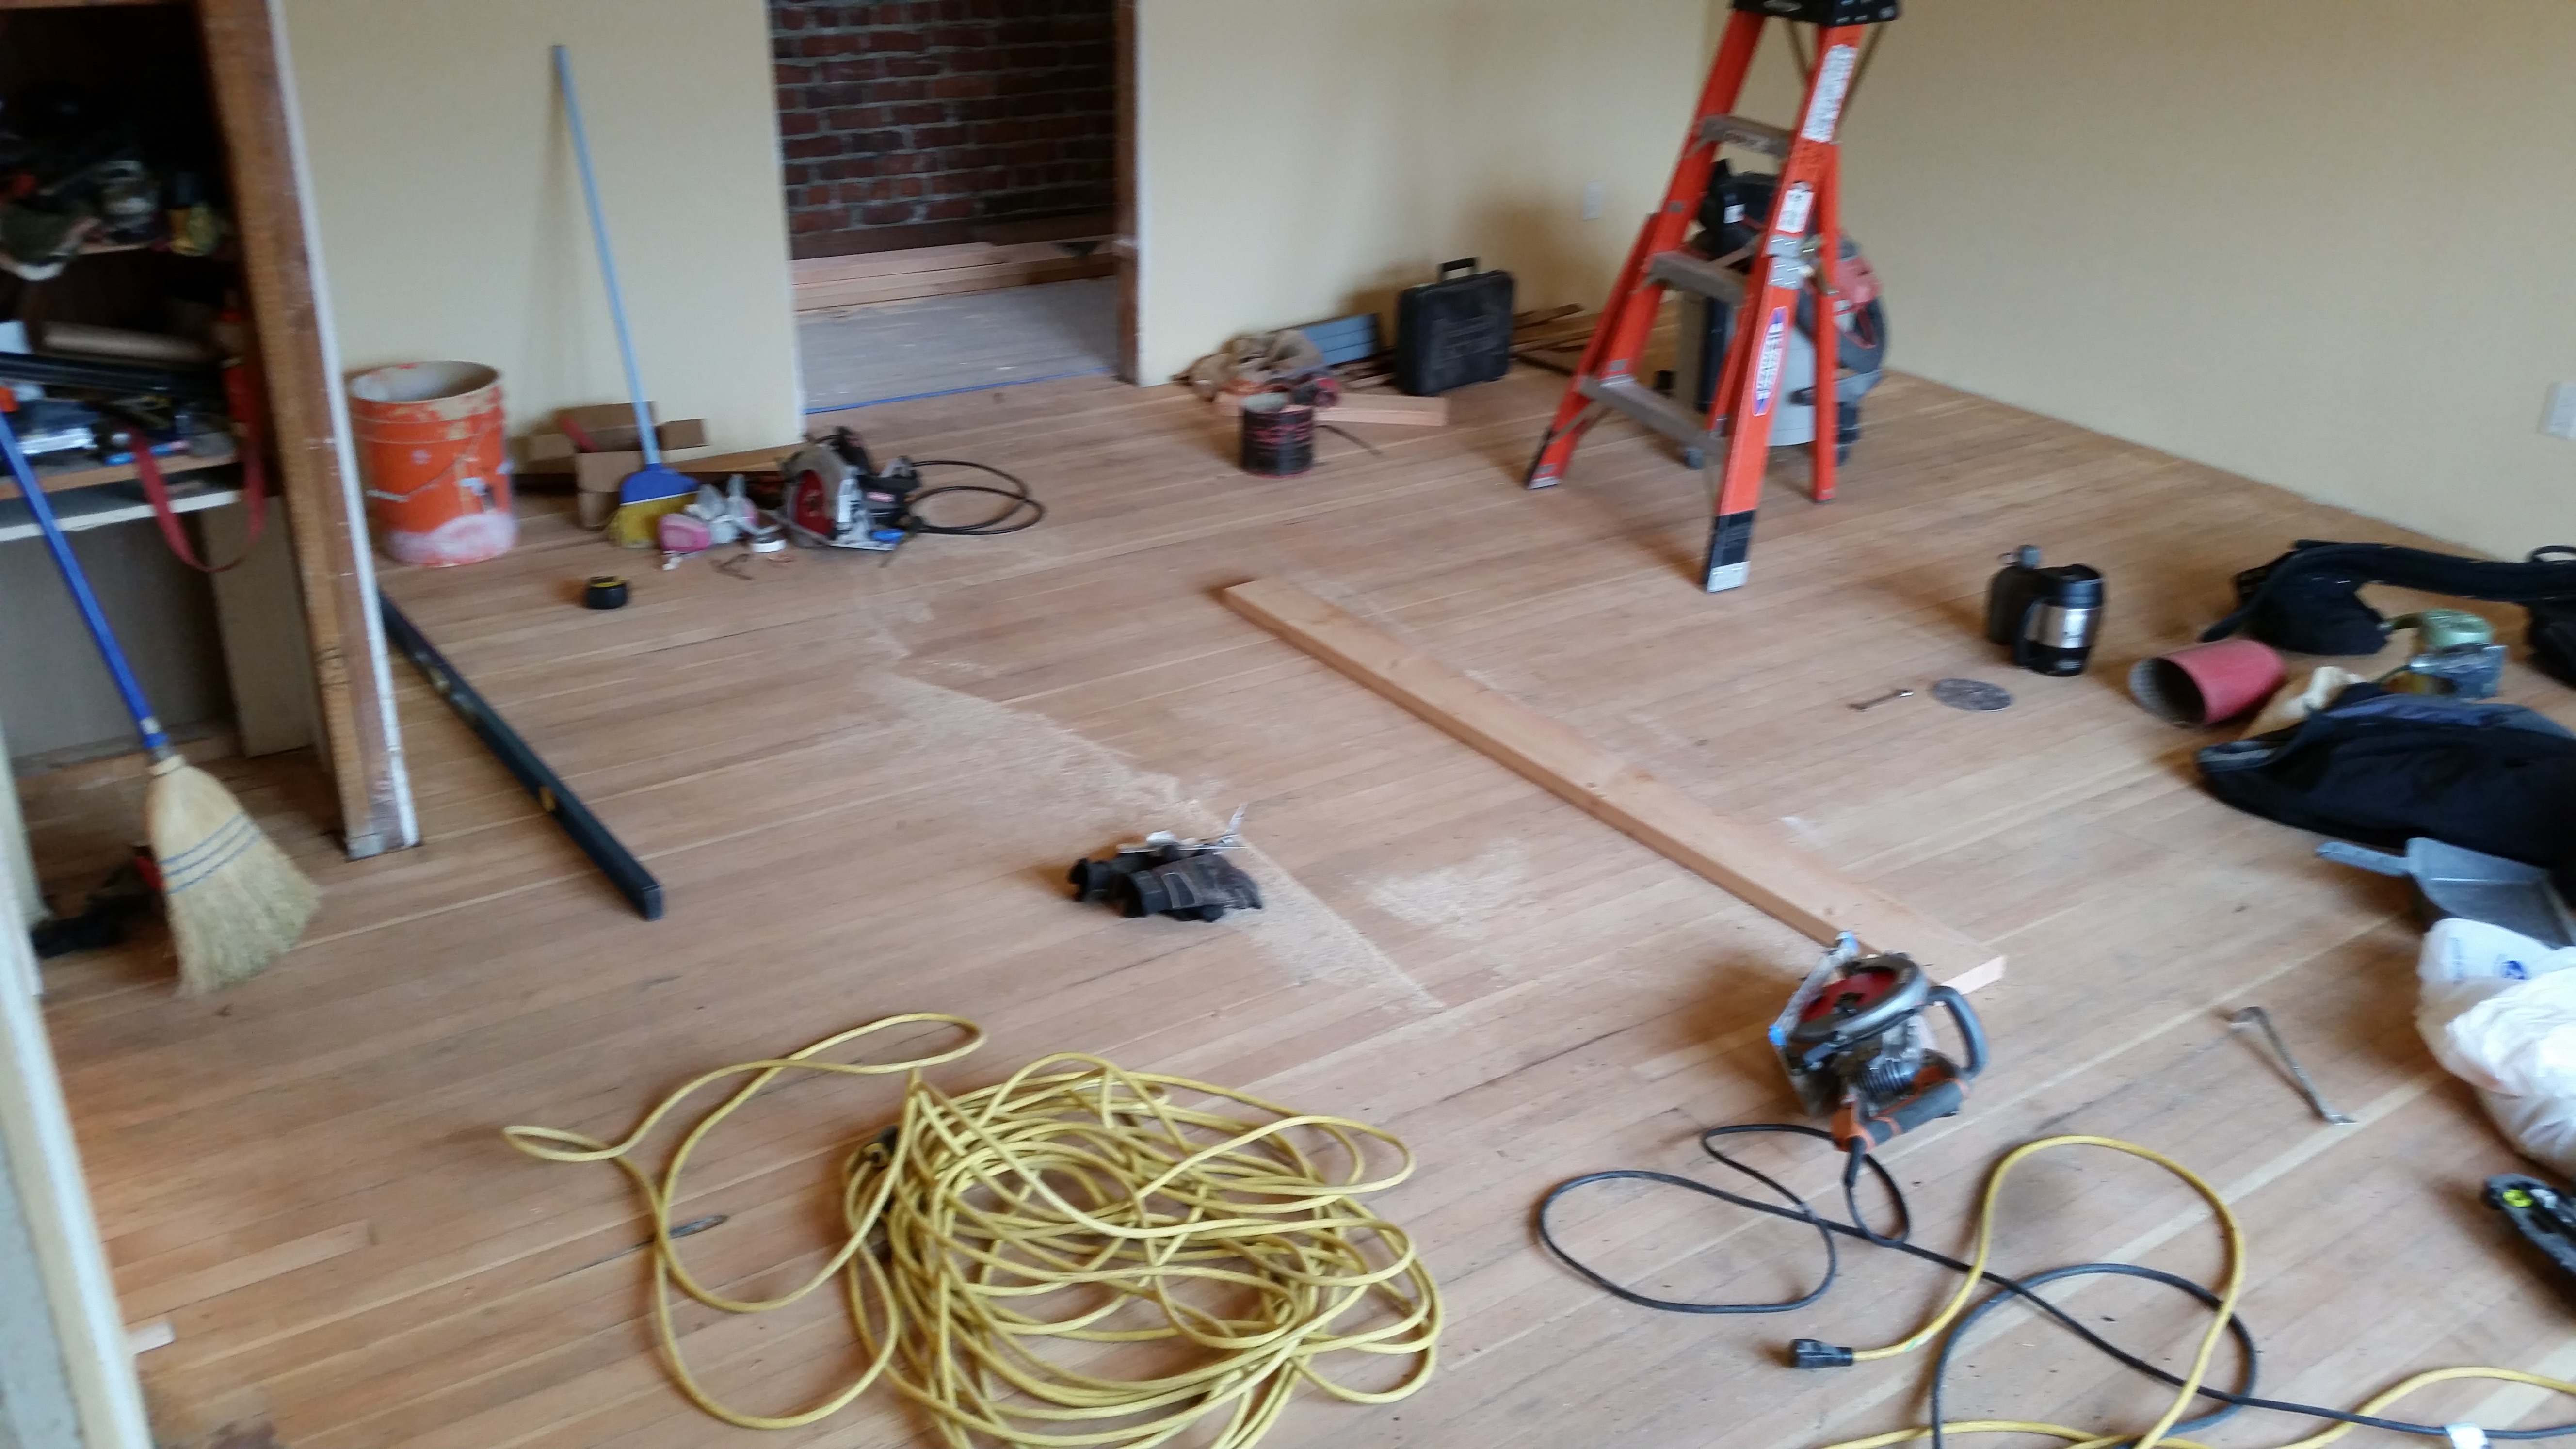
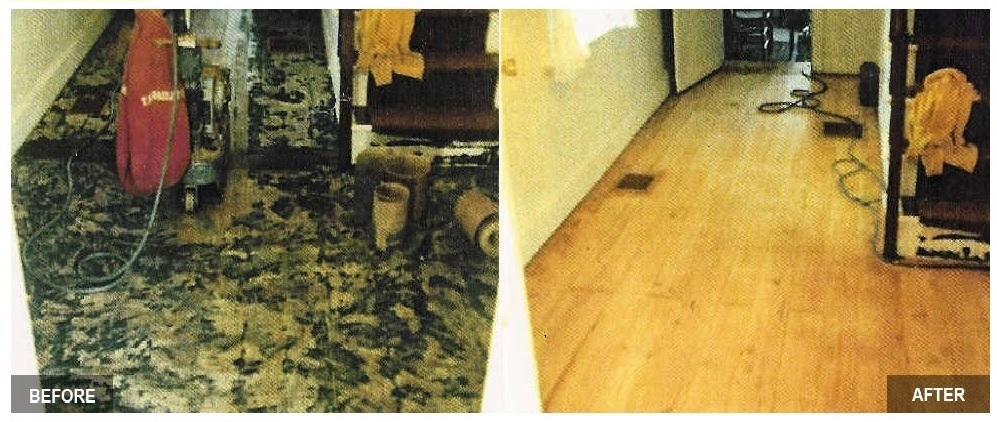
Relaying old vertical grain fir flooring
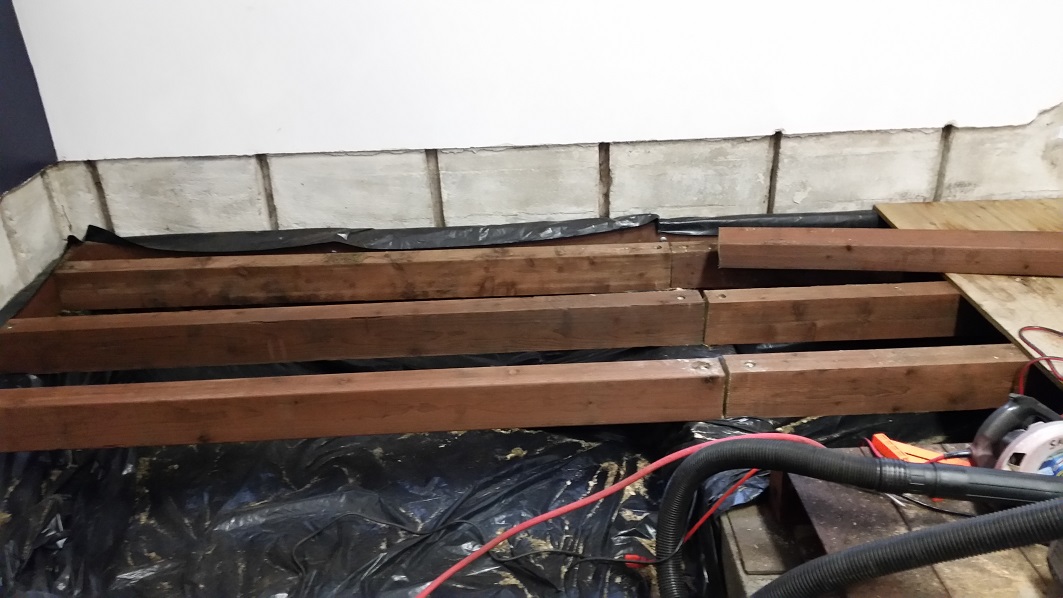
Sometimes going down to the joists and installing a new subfloor is necessary
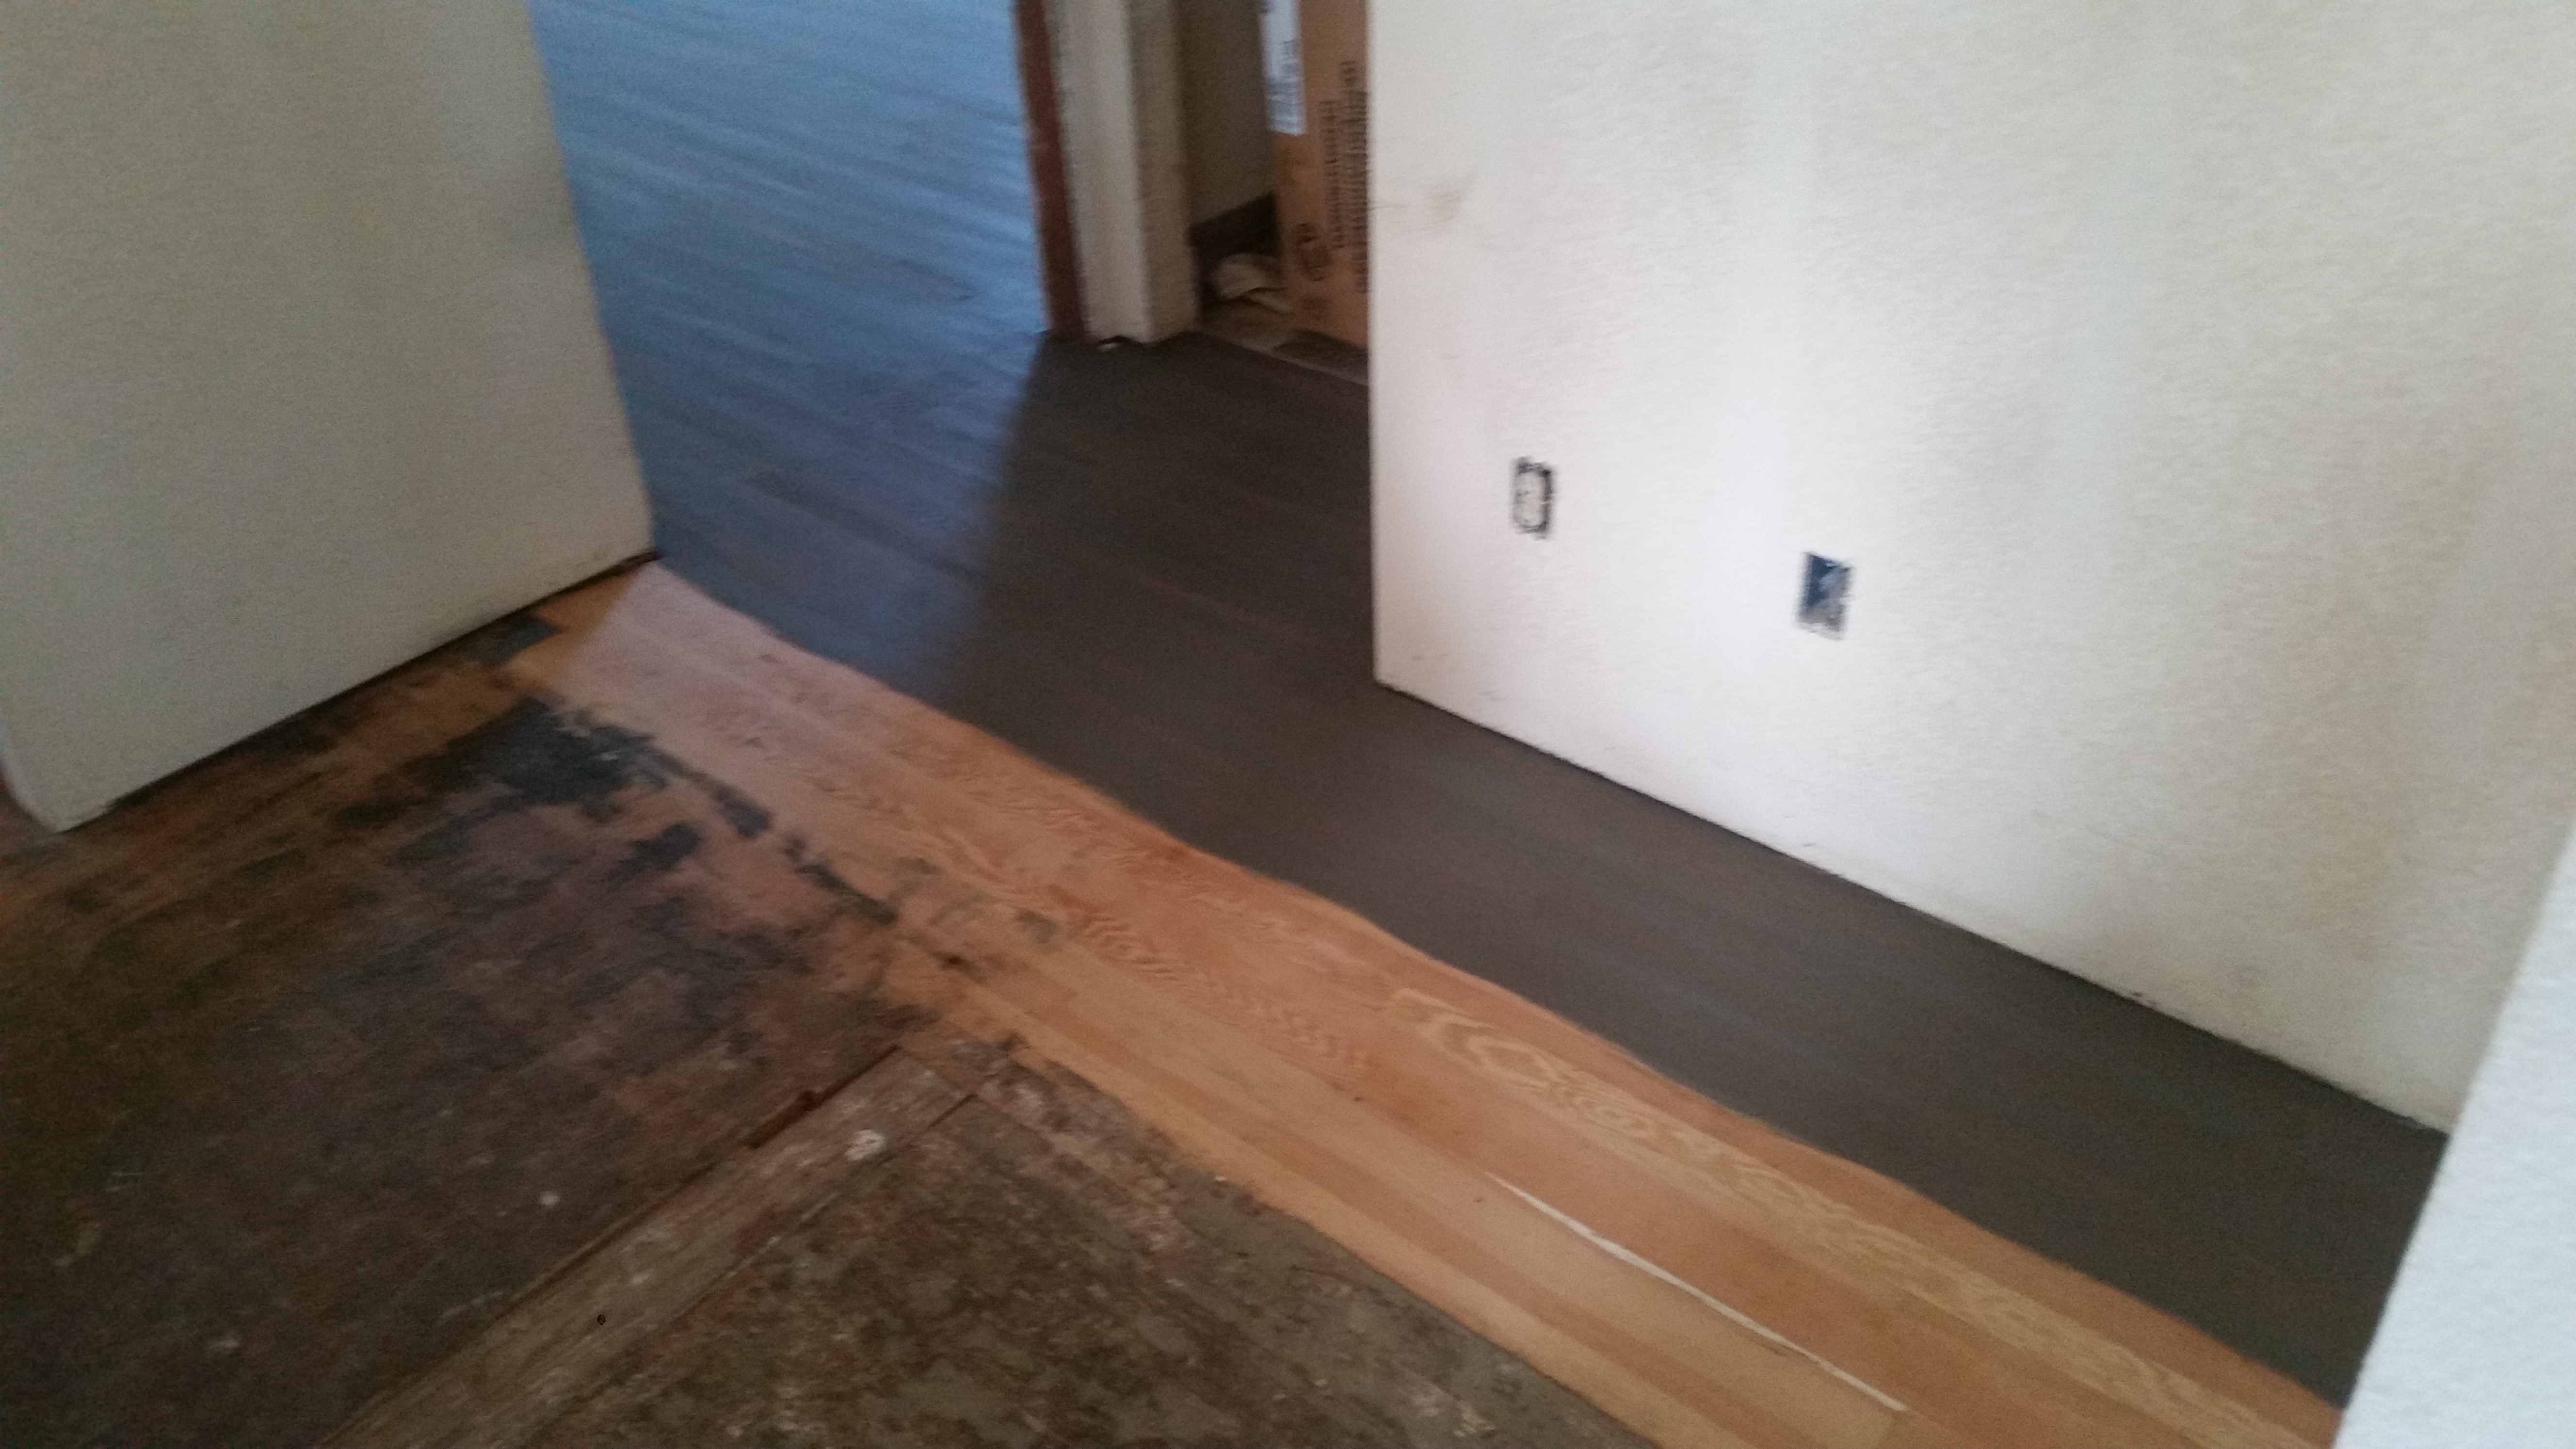
One or two passes with the drumsander can make a huge difference
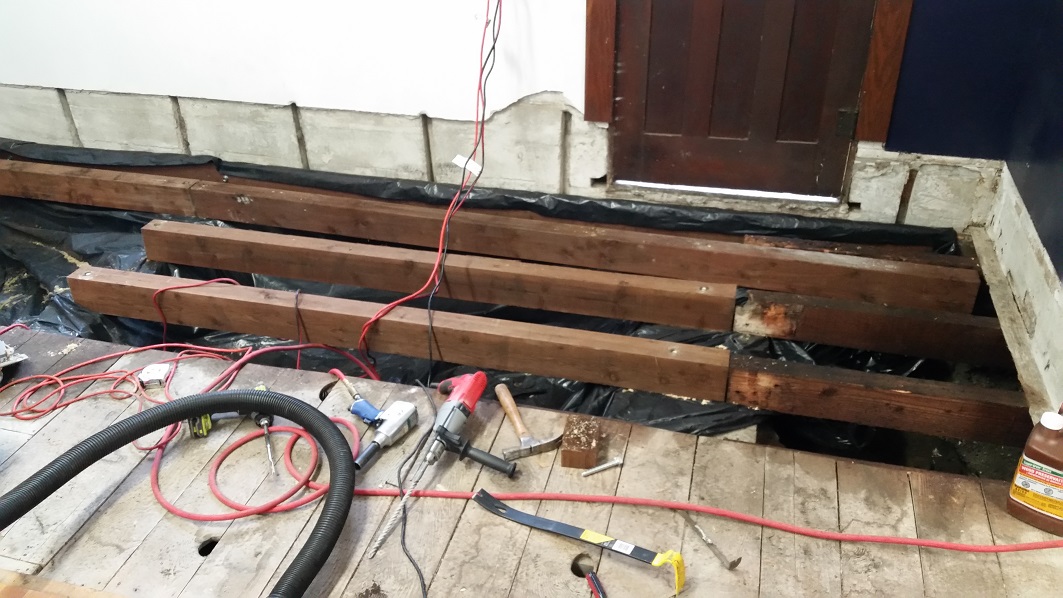
This was necessary because dry rot had distroyed the subfloor too.
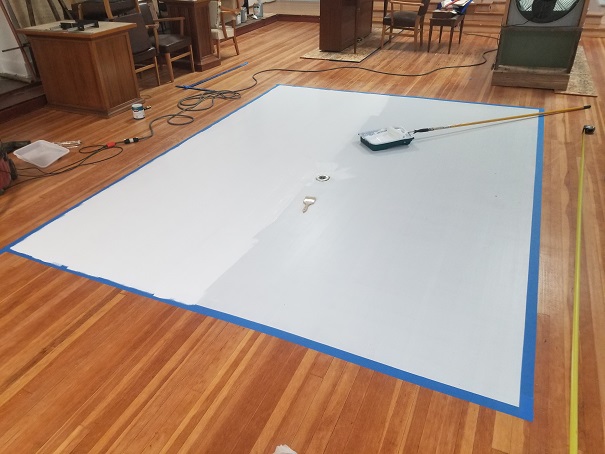
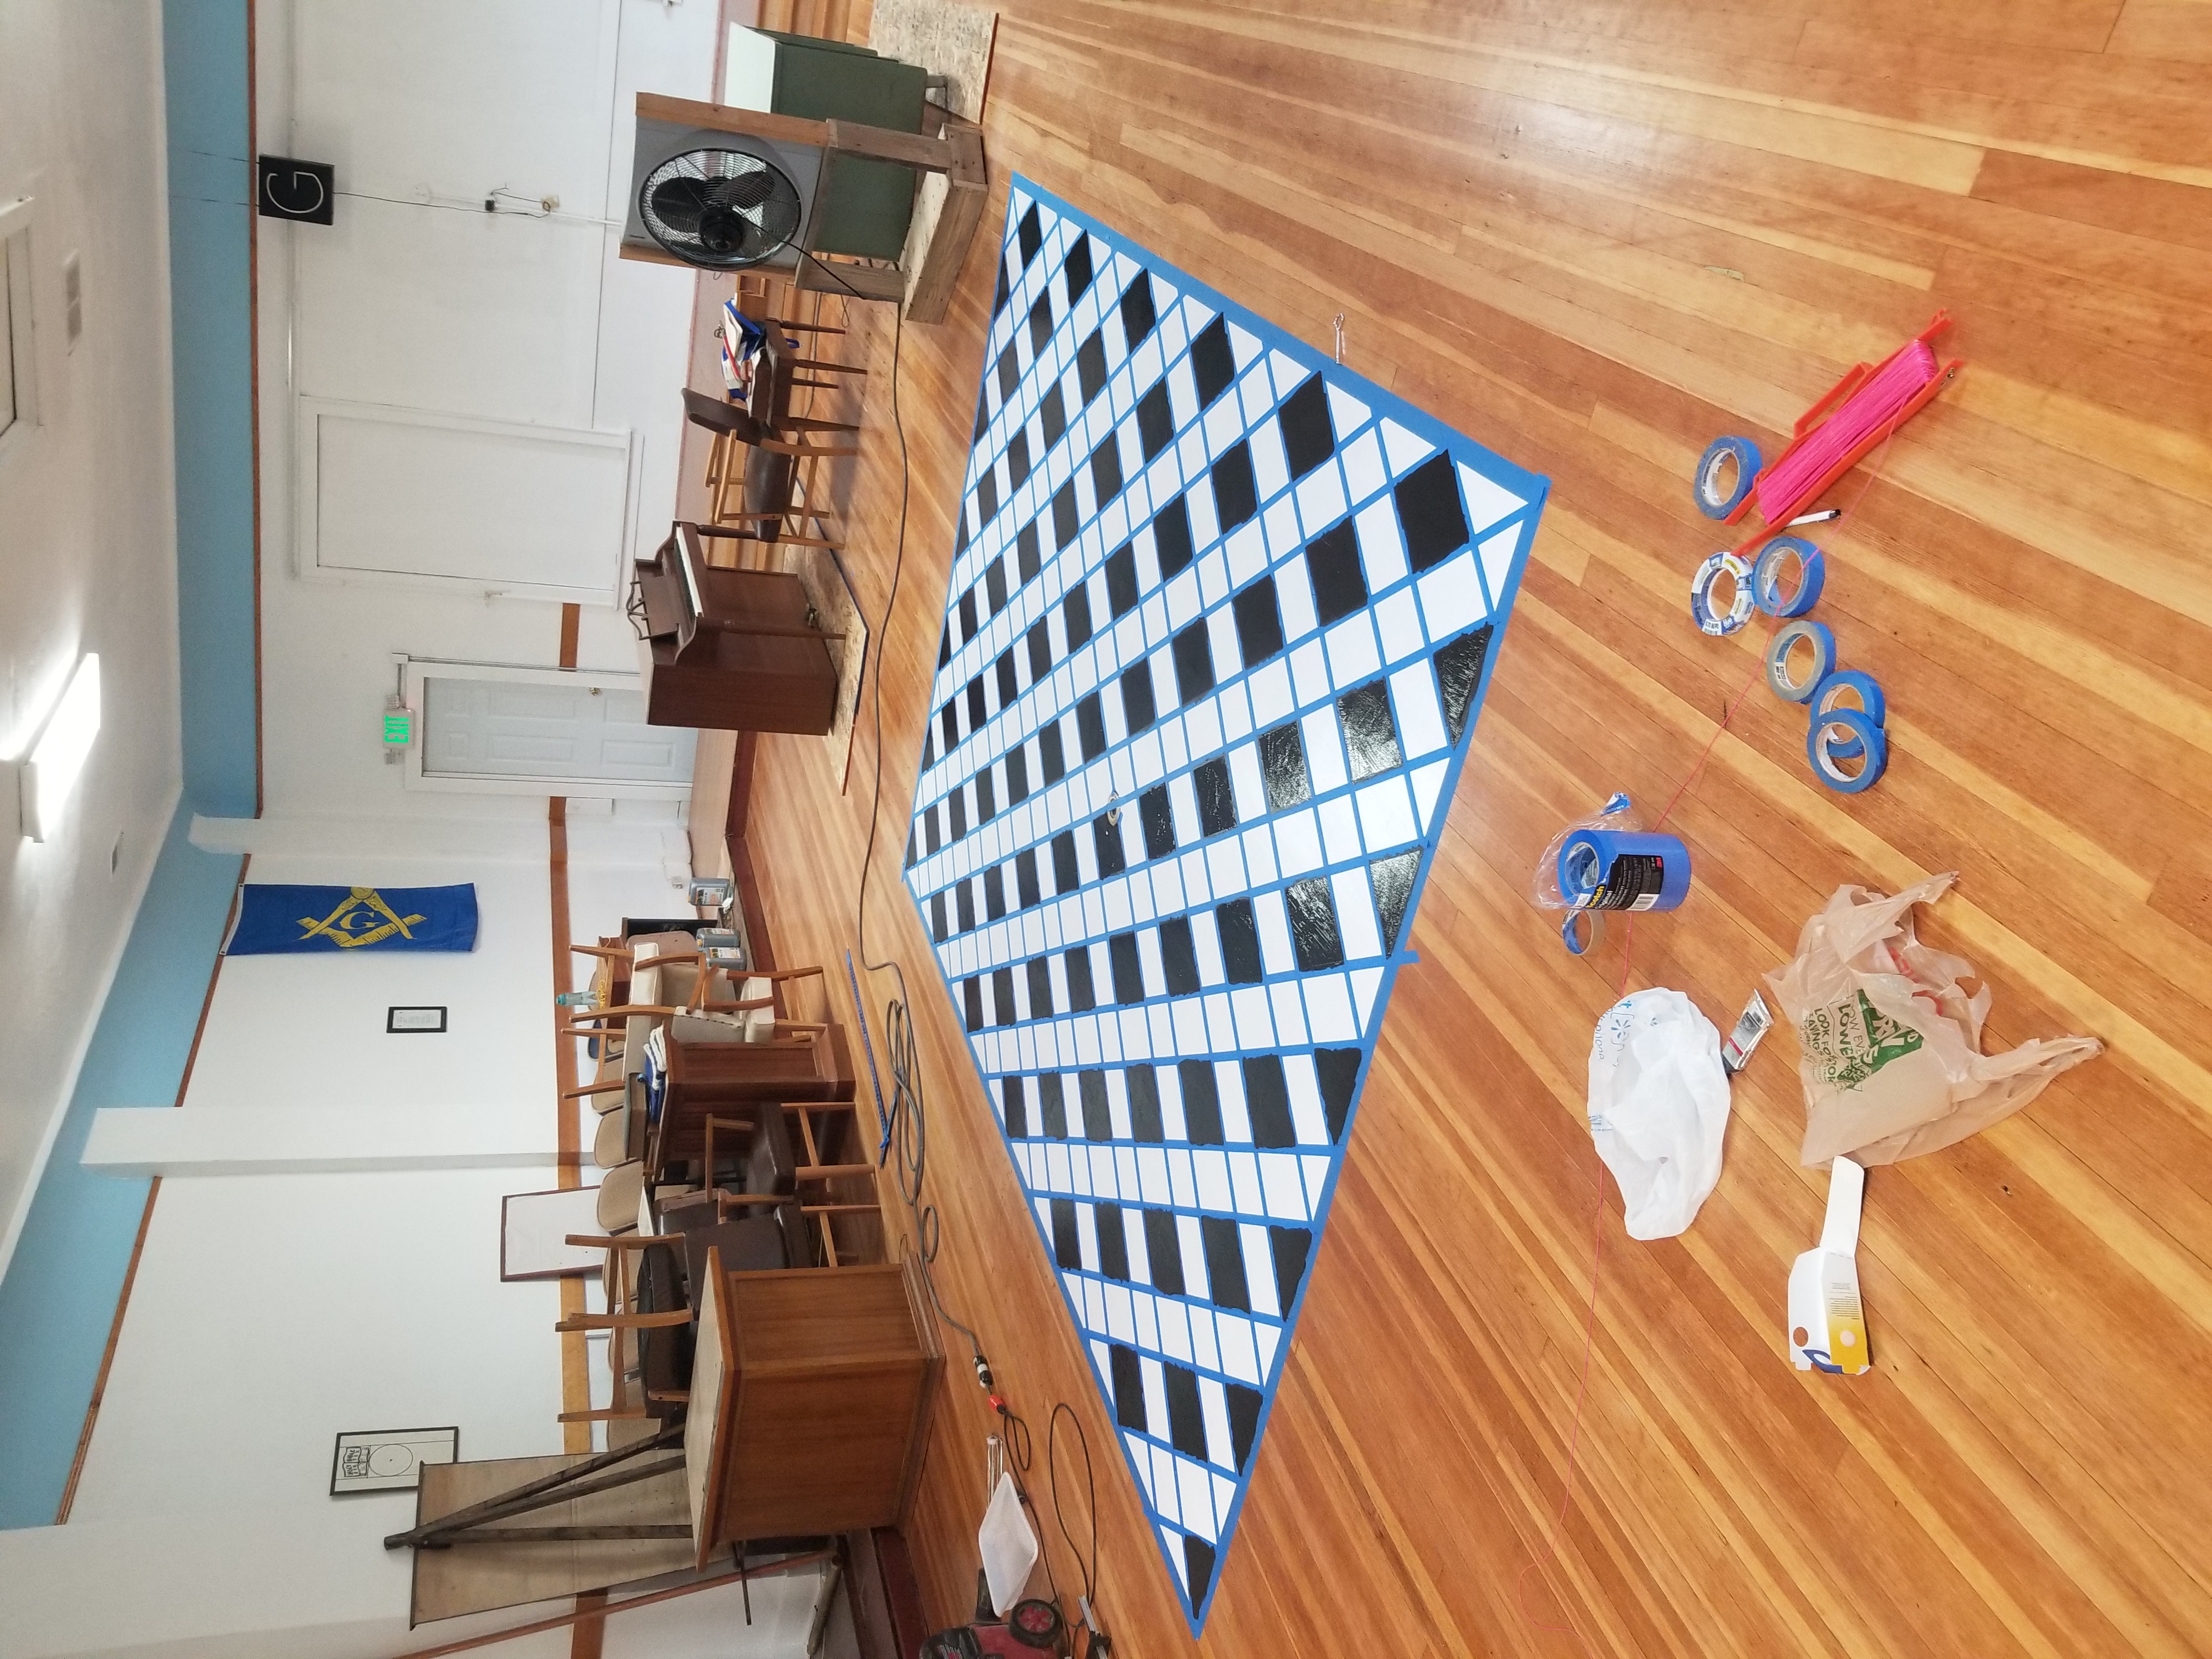
This design starts with painting a white rectangle on the floor
Sometimes the equipment and tools have to be moved around.
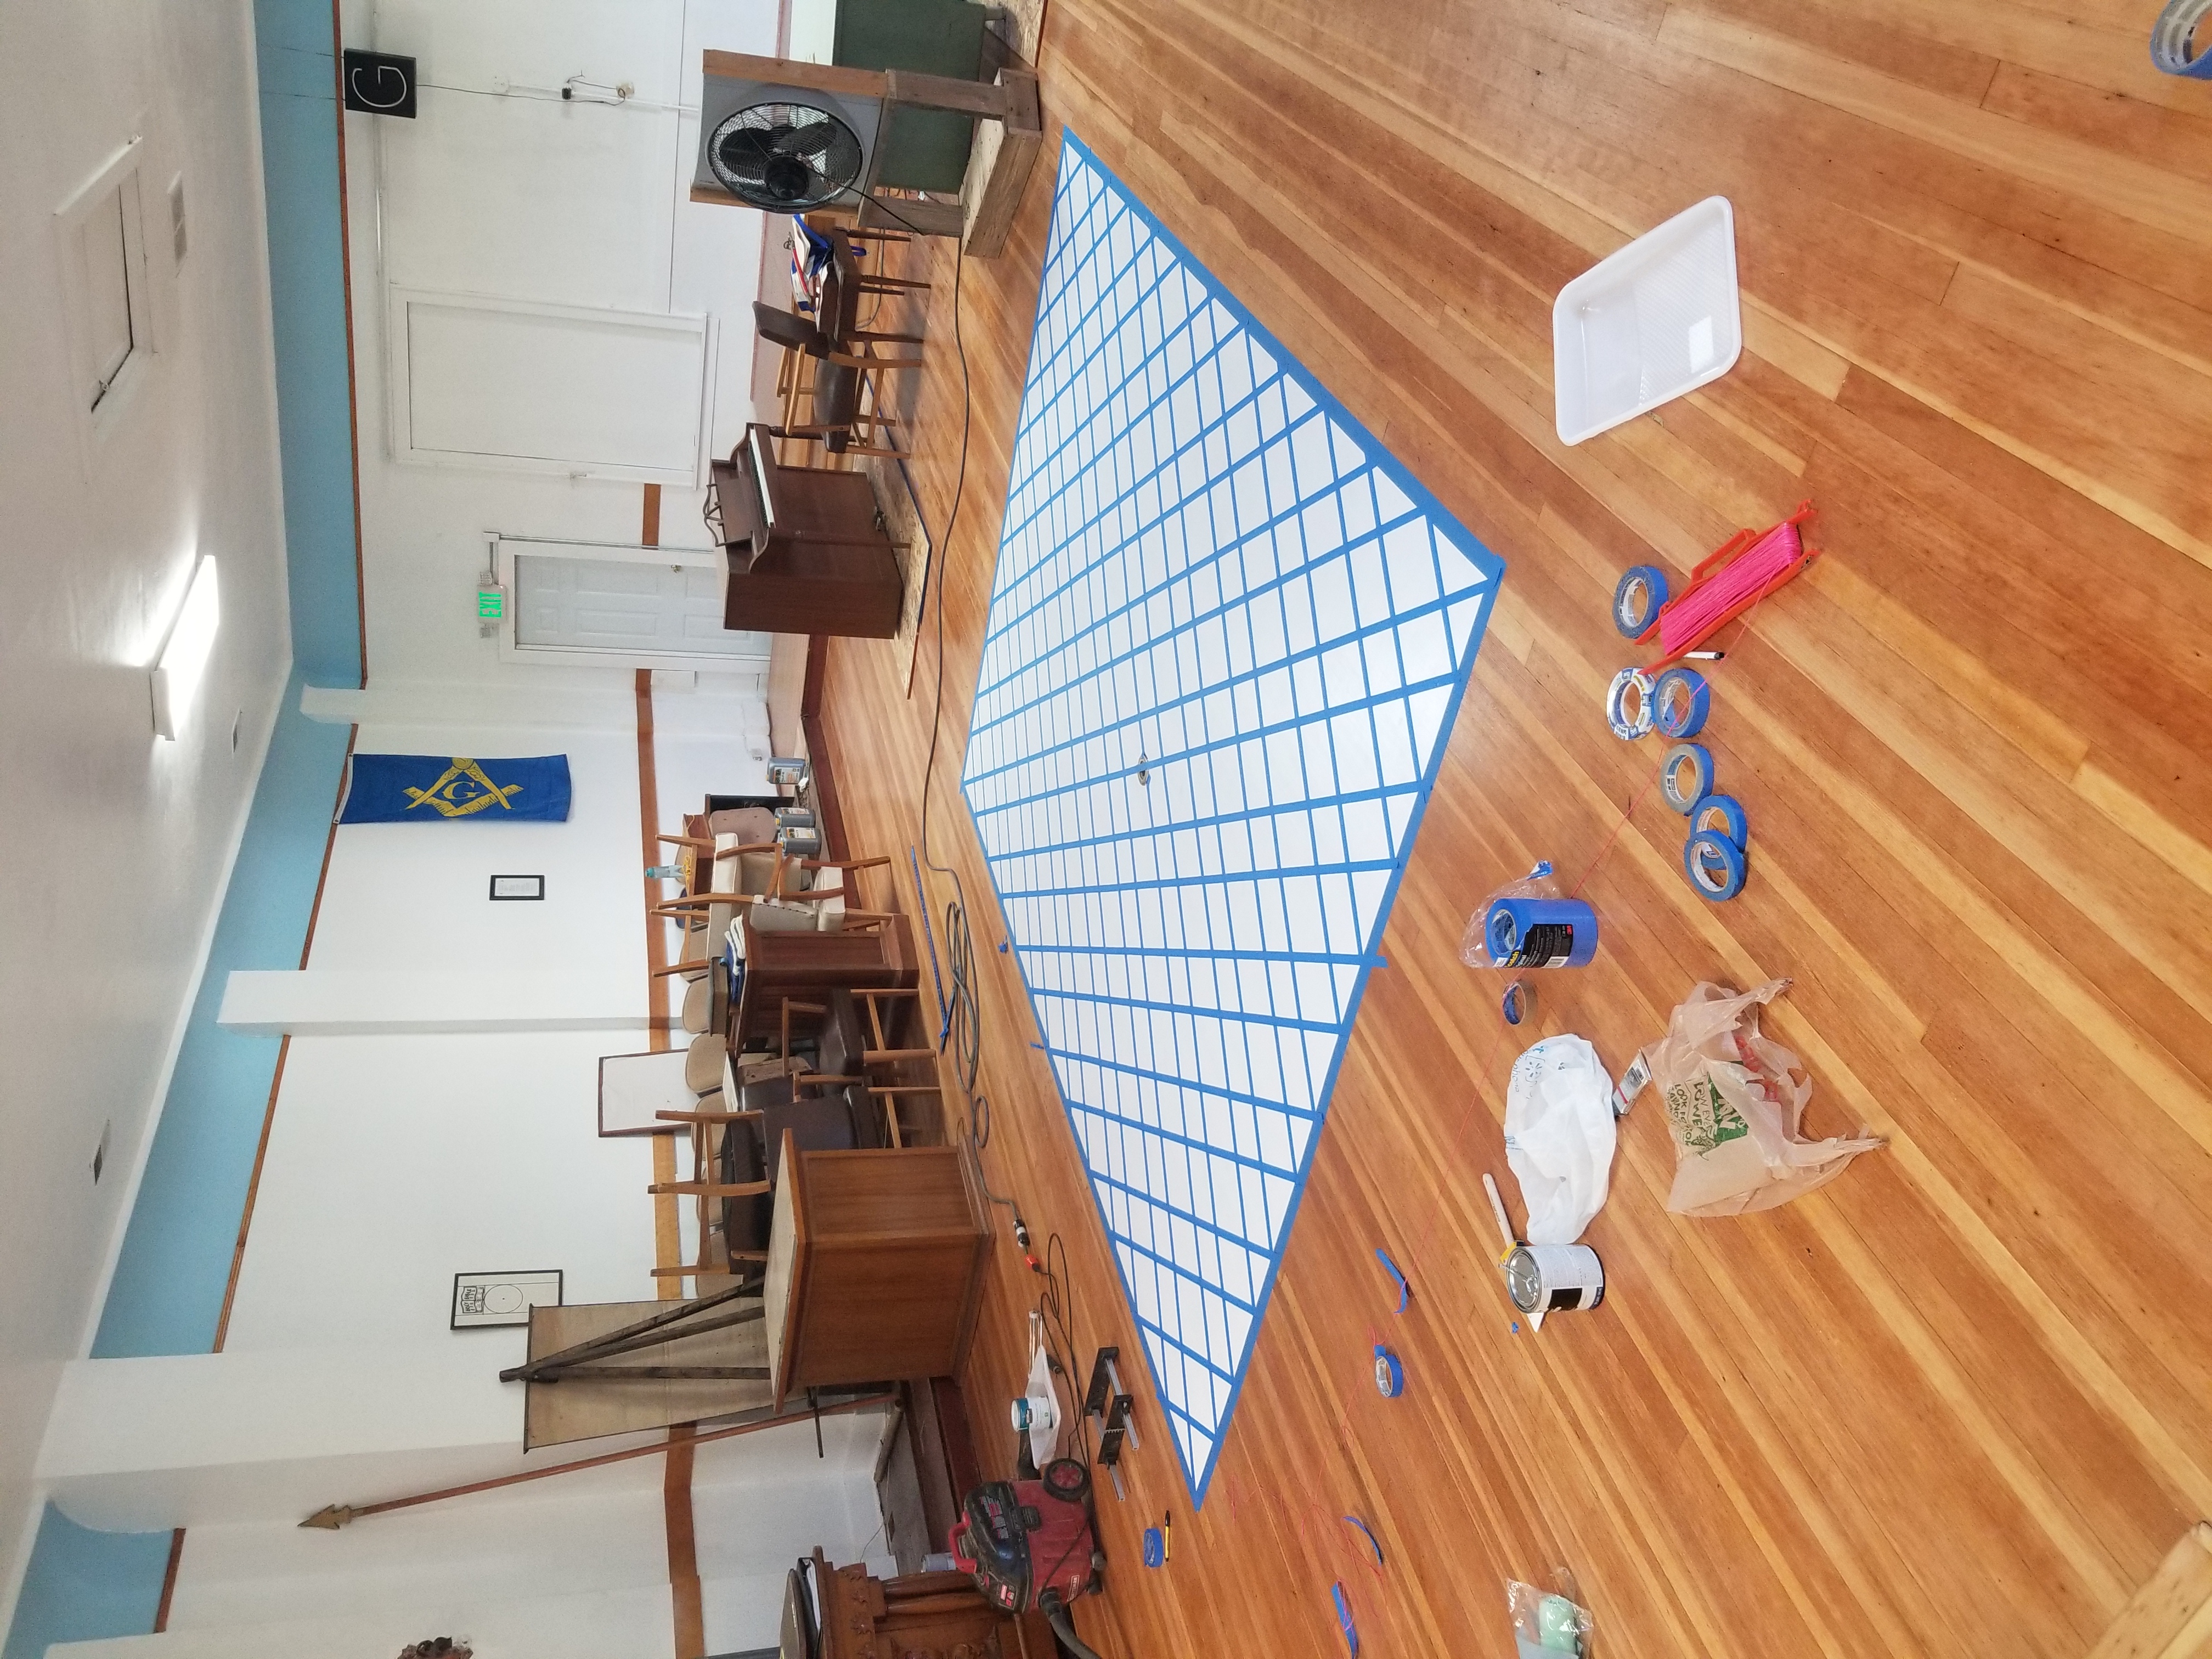
First layer of blue tape. Every other row in both directions will be painted first as the diamonds touch each other.
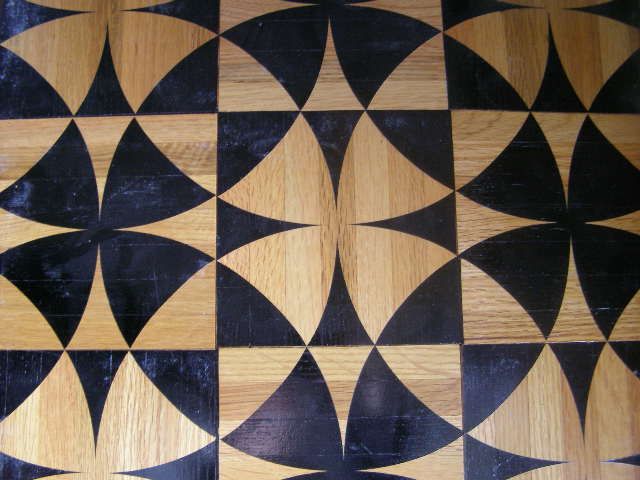
This is the sample I showed the customer who was a quilter of the Wheel of Mystery quilt pattern I was to put on her floor. hat was black on the sample was stained Early American on her floor.
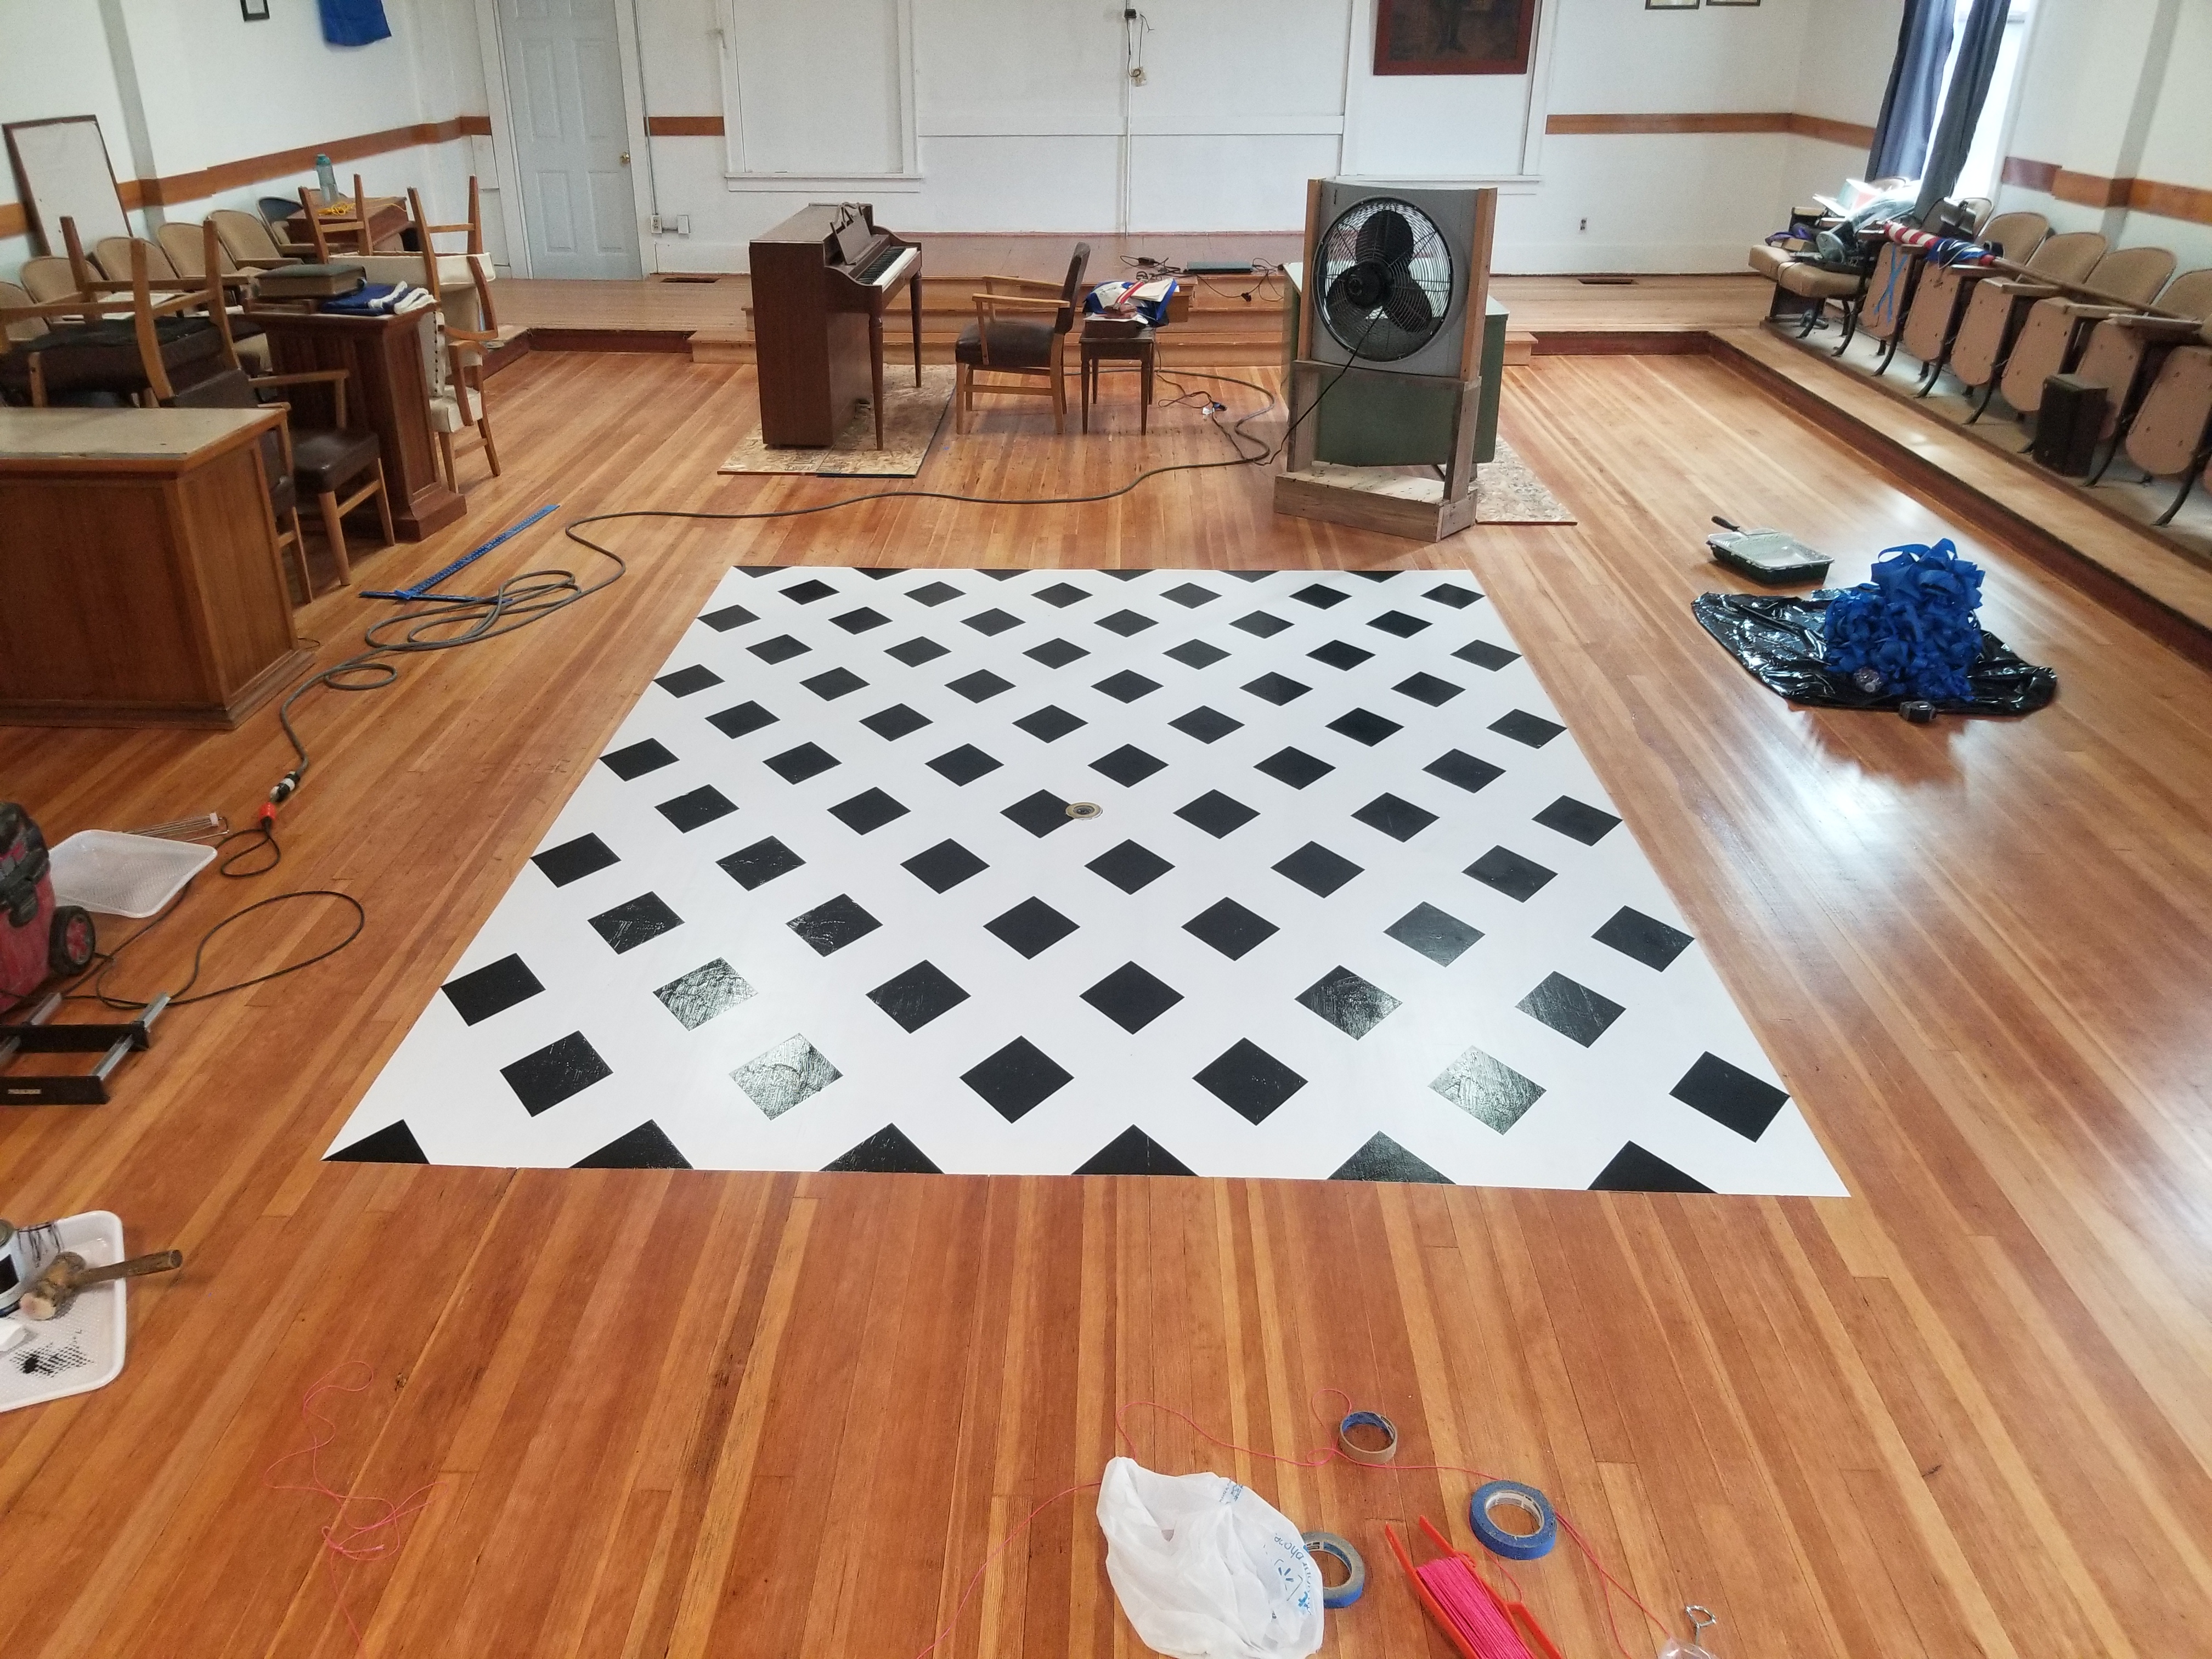
This is the first set of diamonds painted.
All the wood on this floor is select read oak. The boards were stained red mahogany after they were installed.
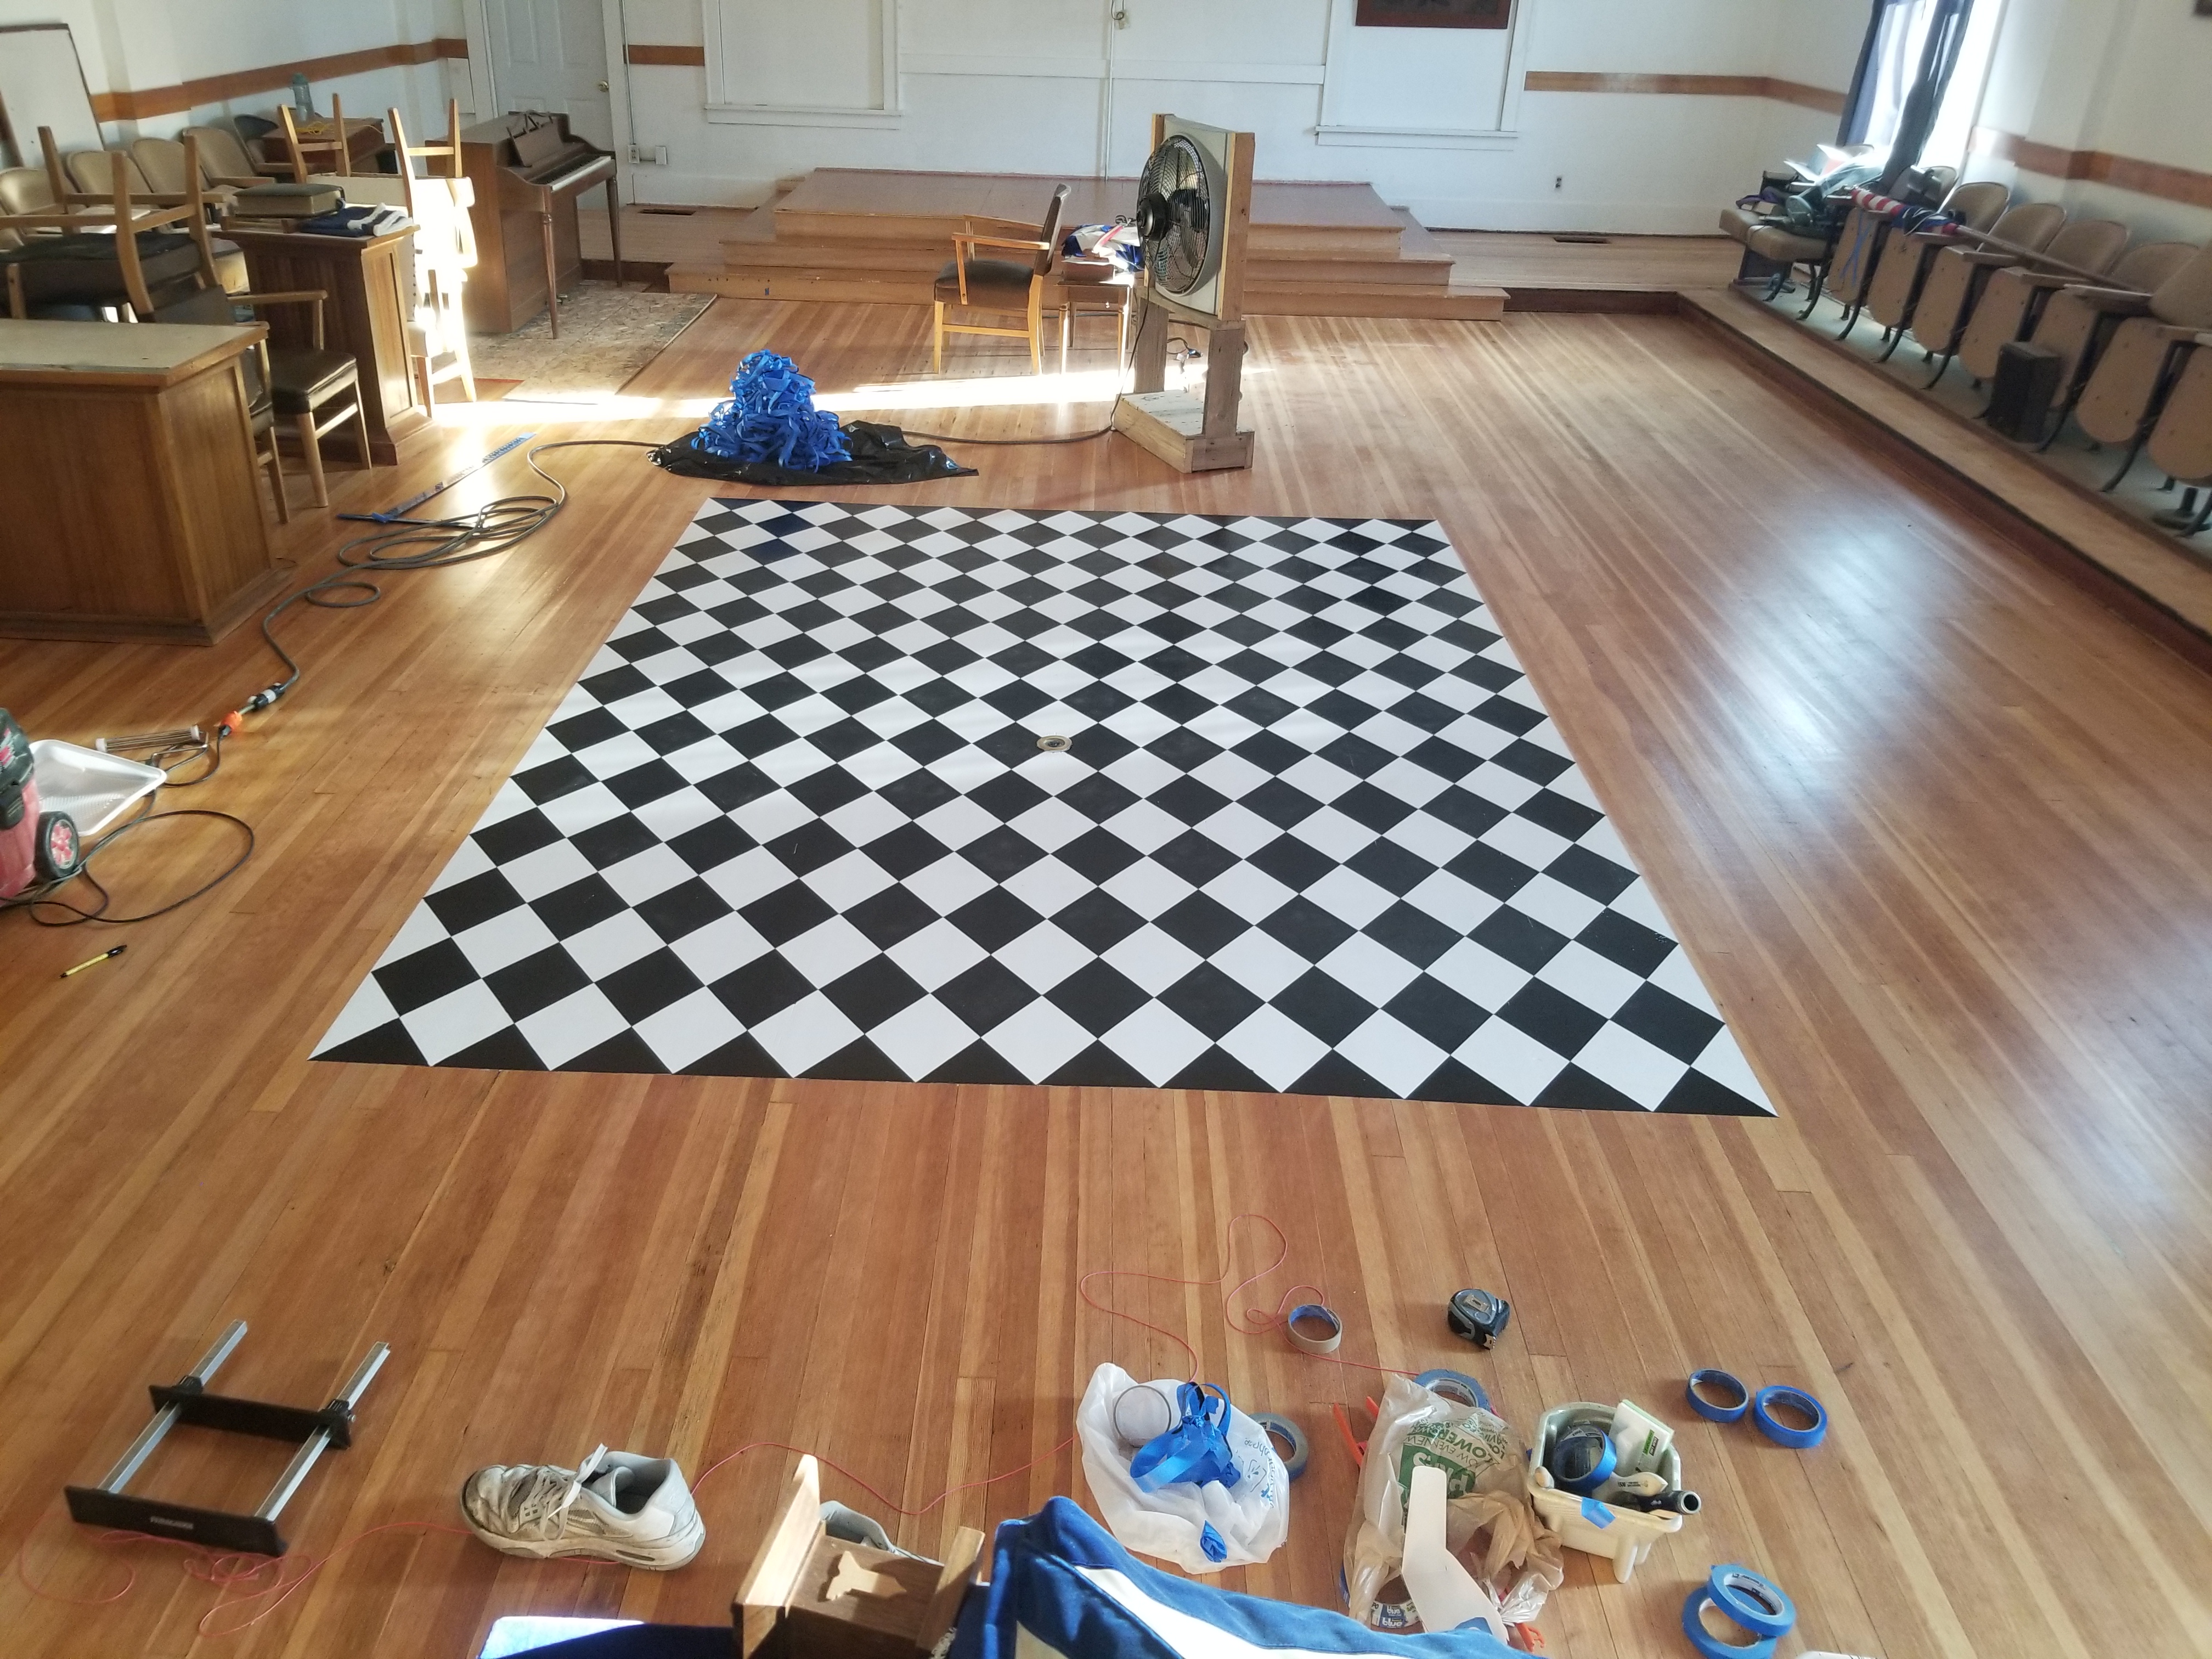
The blue tape is pulled.

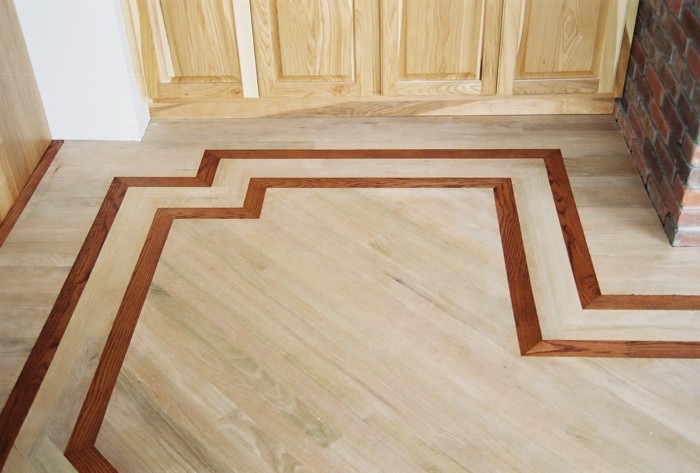
Blue tape laid out for what I call the poor man's Walnut.
The finished design with 12 triangles on each side. On the short side the base of the triangles is 9 inches. On the long side is 12 inches. Each Diagonal is the hypotenuse of a 3/4/5 triangle.
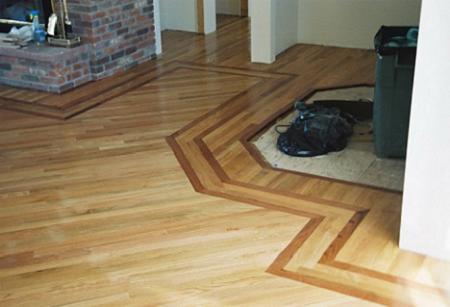
The Poor Man's walnut finished. Note that the center of the floor is 45 degrees to the walls.
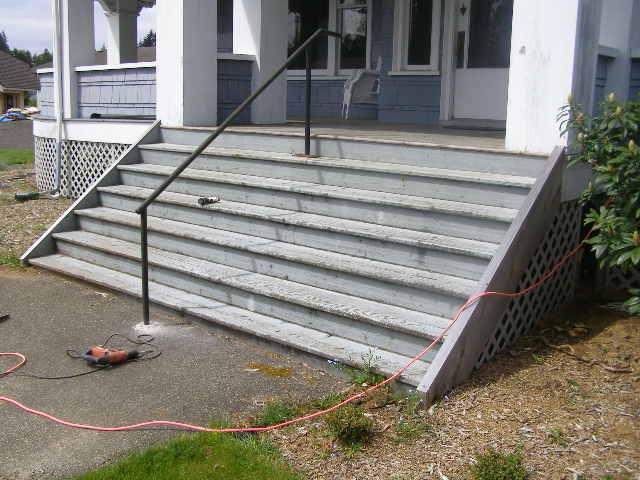
These are not the original stairs. The treads are pressure treated 2x12's. The goal was to restore it to what it looked like originally.
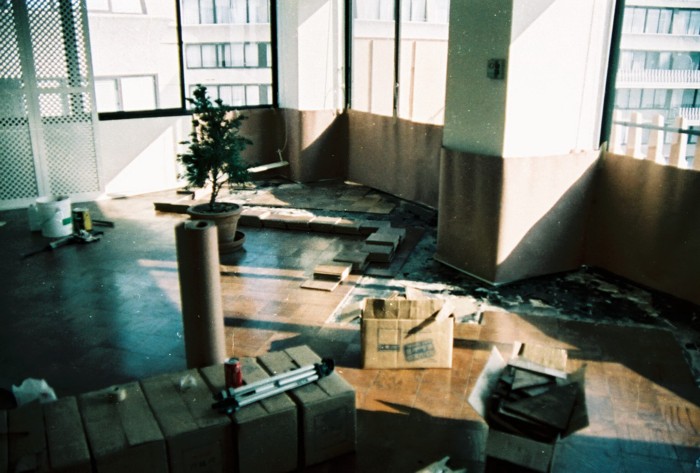
Replacing and gluing down 9x9 squares in a Watergate condo in Washington DC.
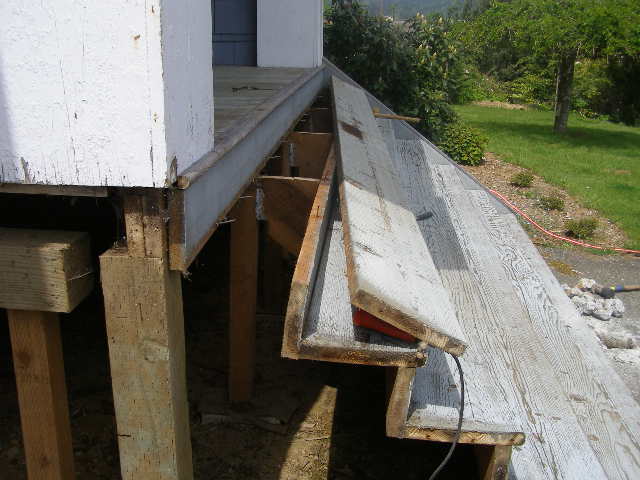
Starting to remove the stairs.
Black glue to the left, beautiful wide hemlock flooring to the right after sanding. No chemicals were used.
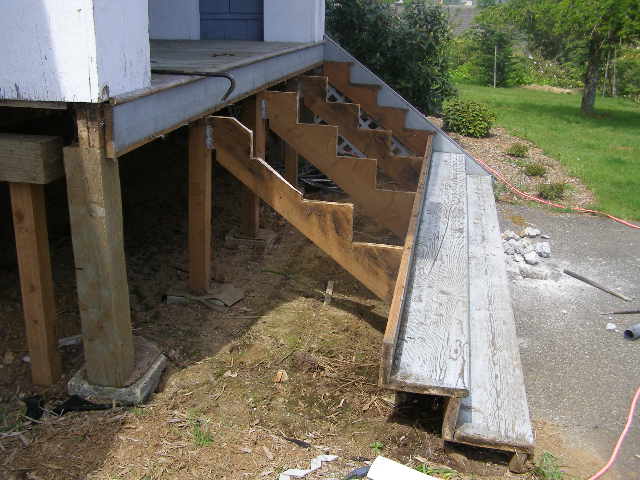
Four stringers in a 12 foot span is not enough.
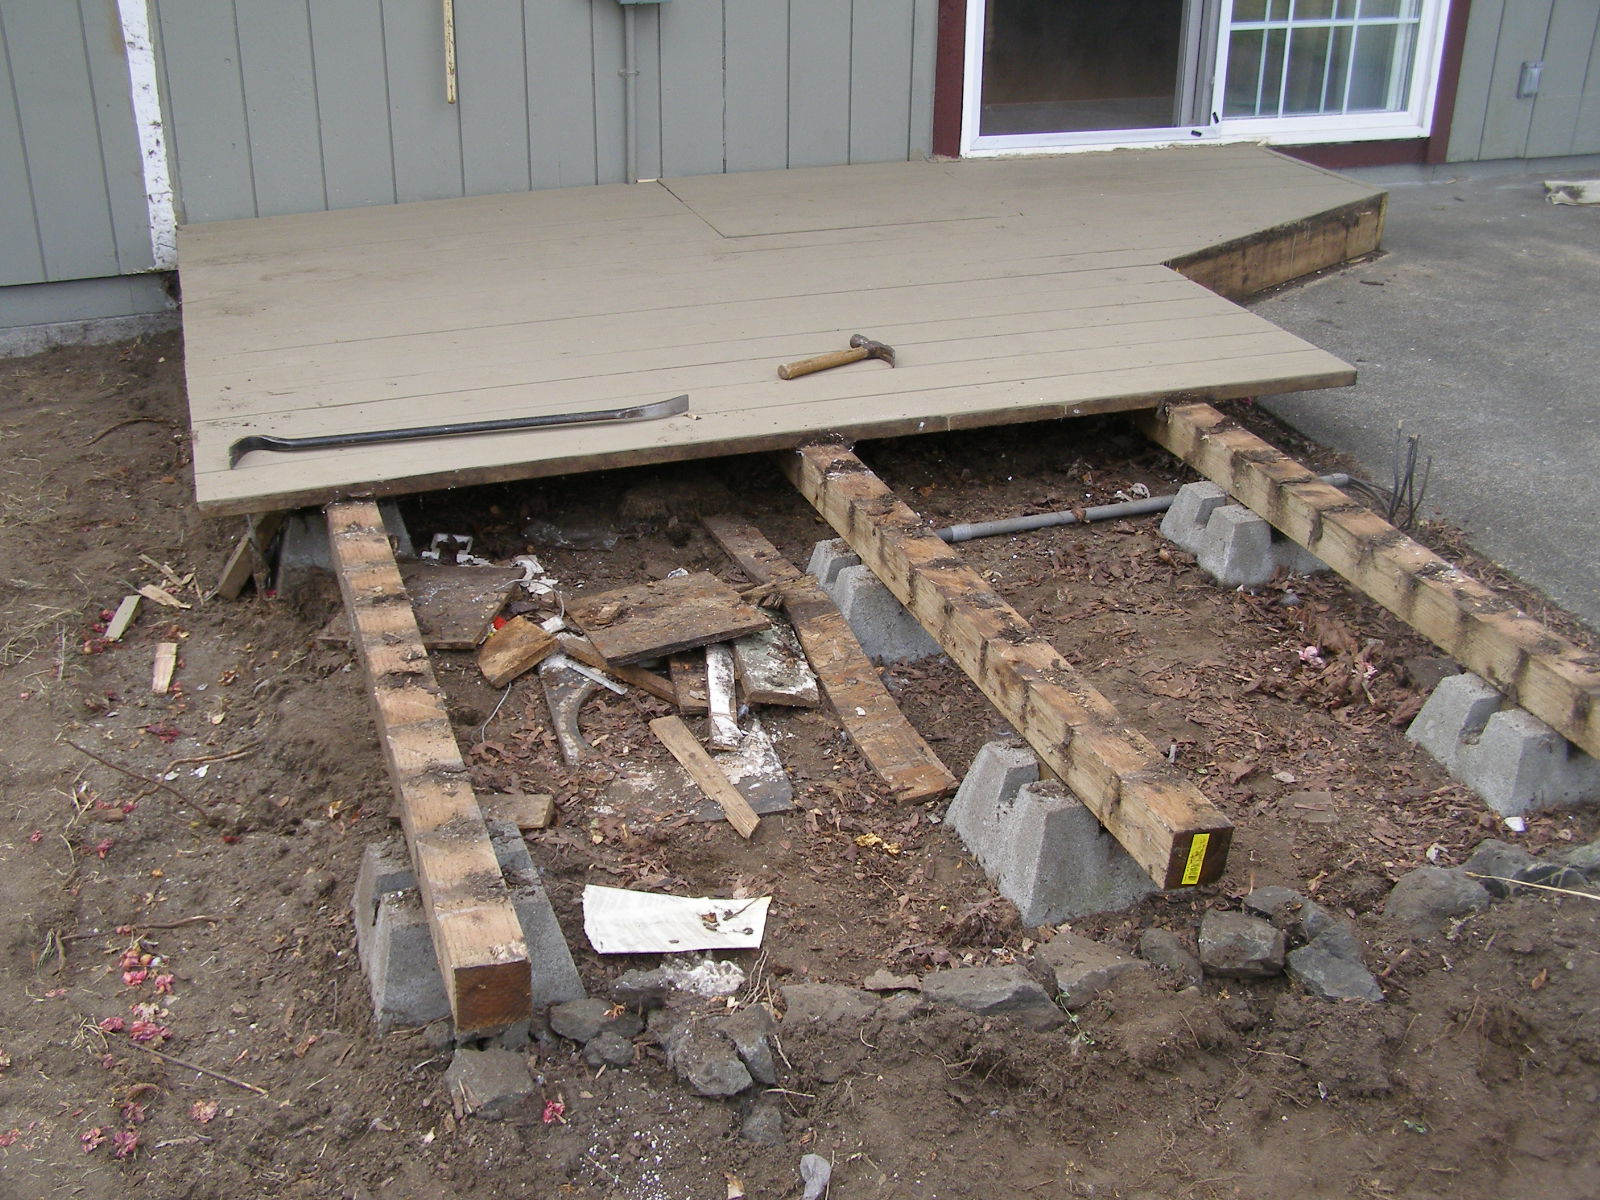
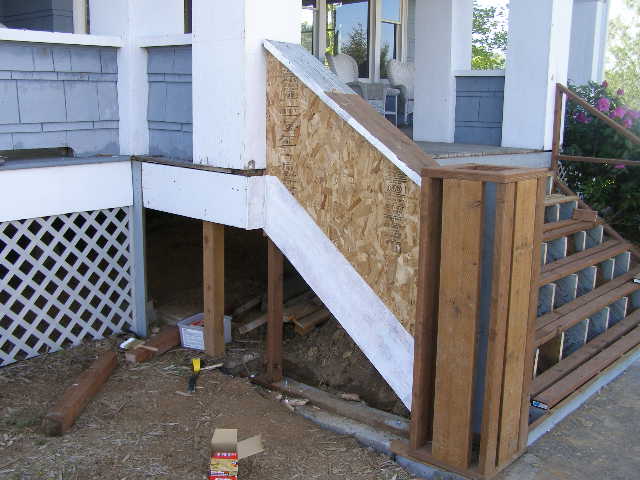
Removing a back deck to make a much larger deck with ramps for a friend in a wheelchair.
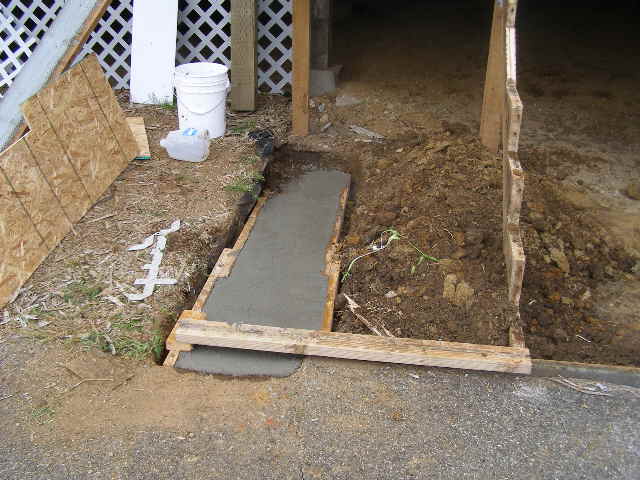
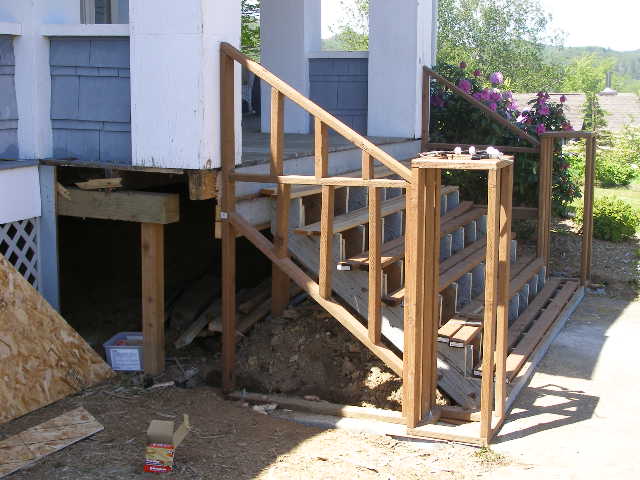
A concrete footing is poured.
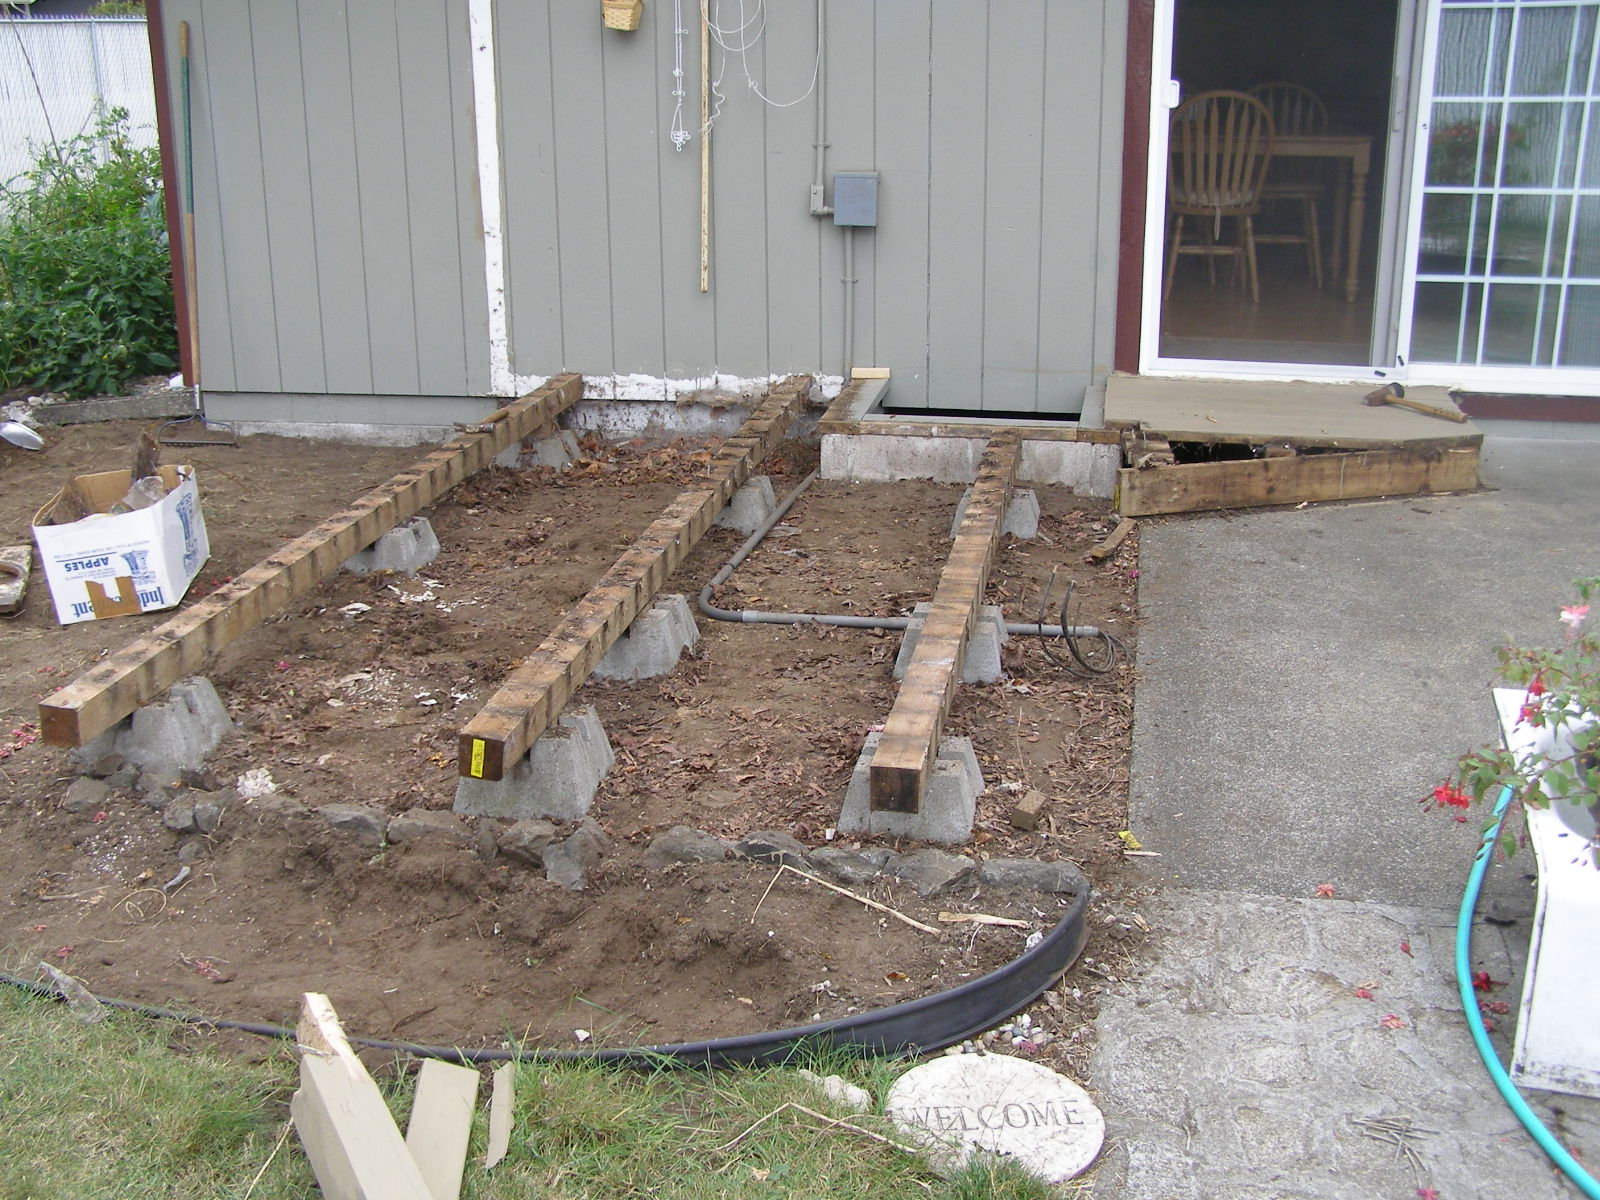
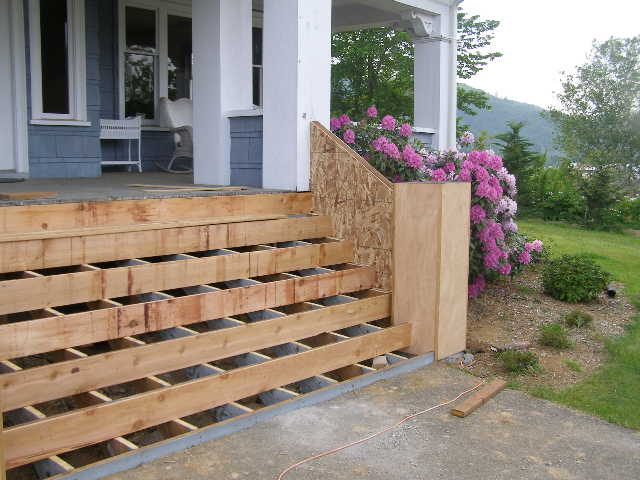
Finally down to the joists. I added more joists to make a solid deck.
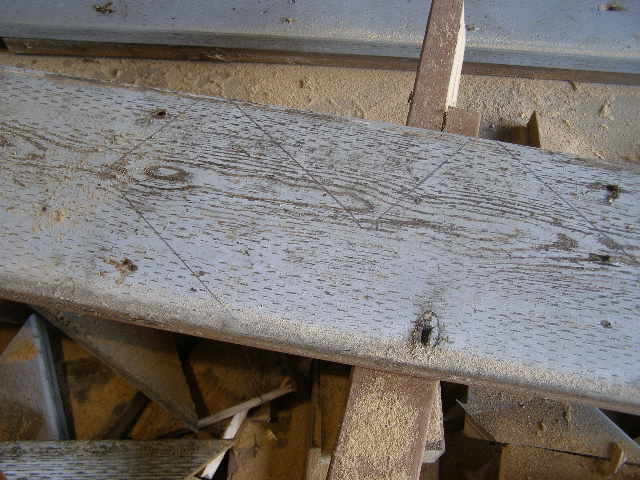
Marking out the stringer pattern on the 2x12 treads which will be used for more stringers.f
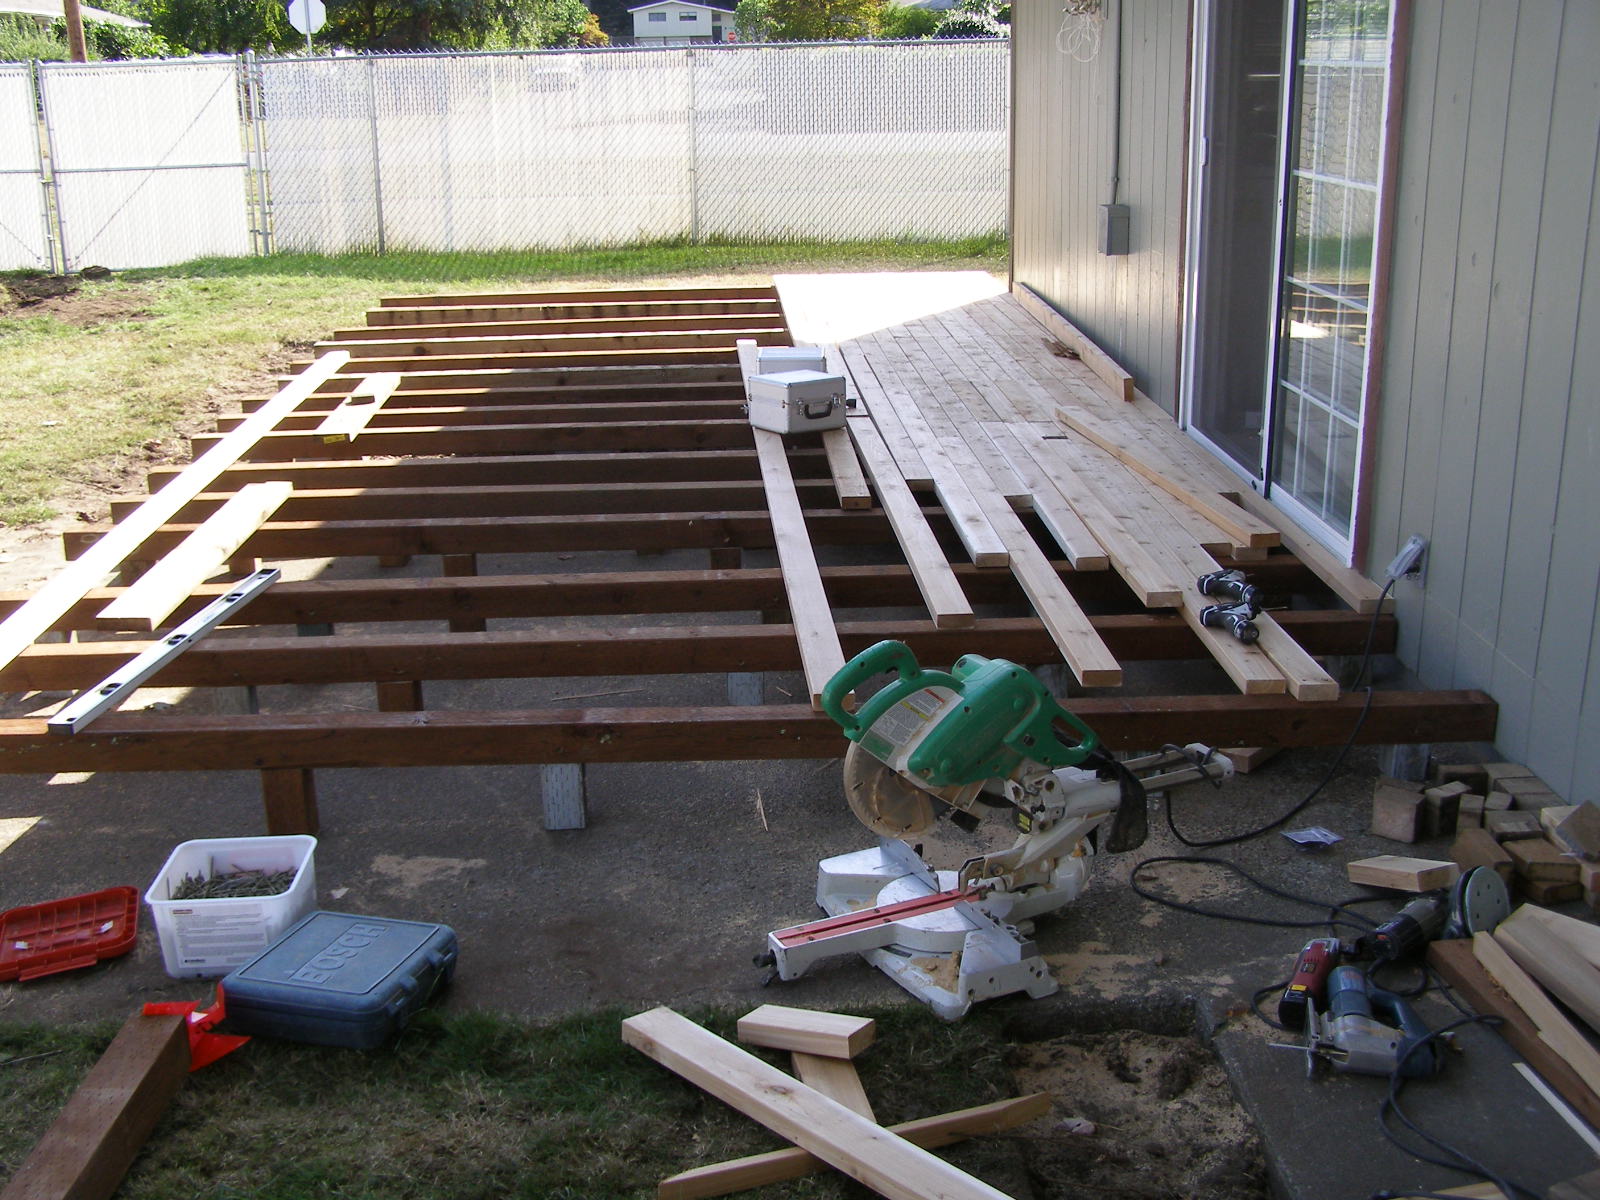
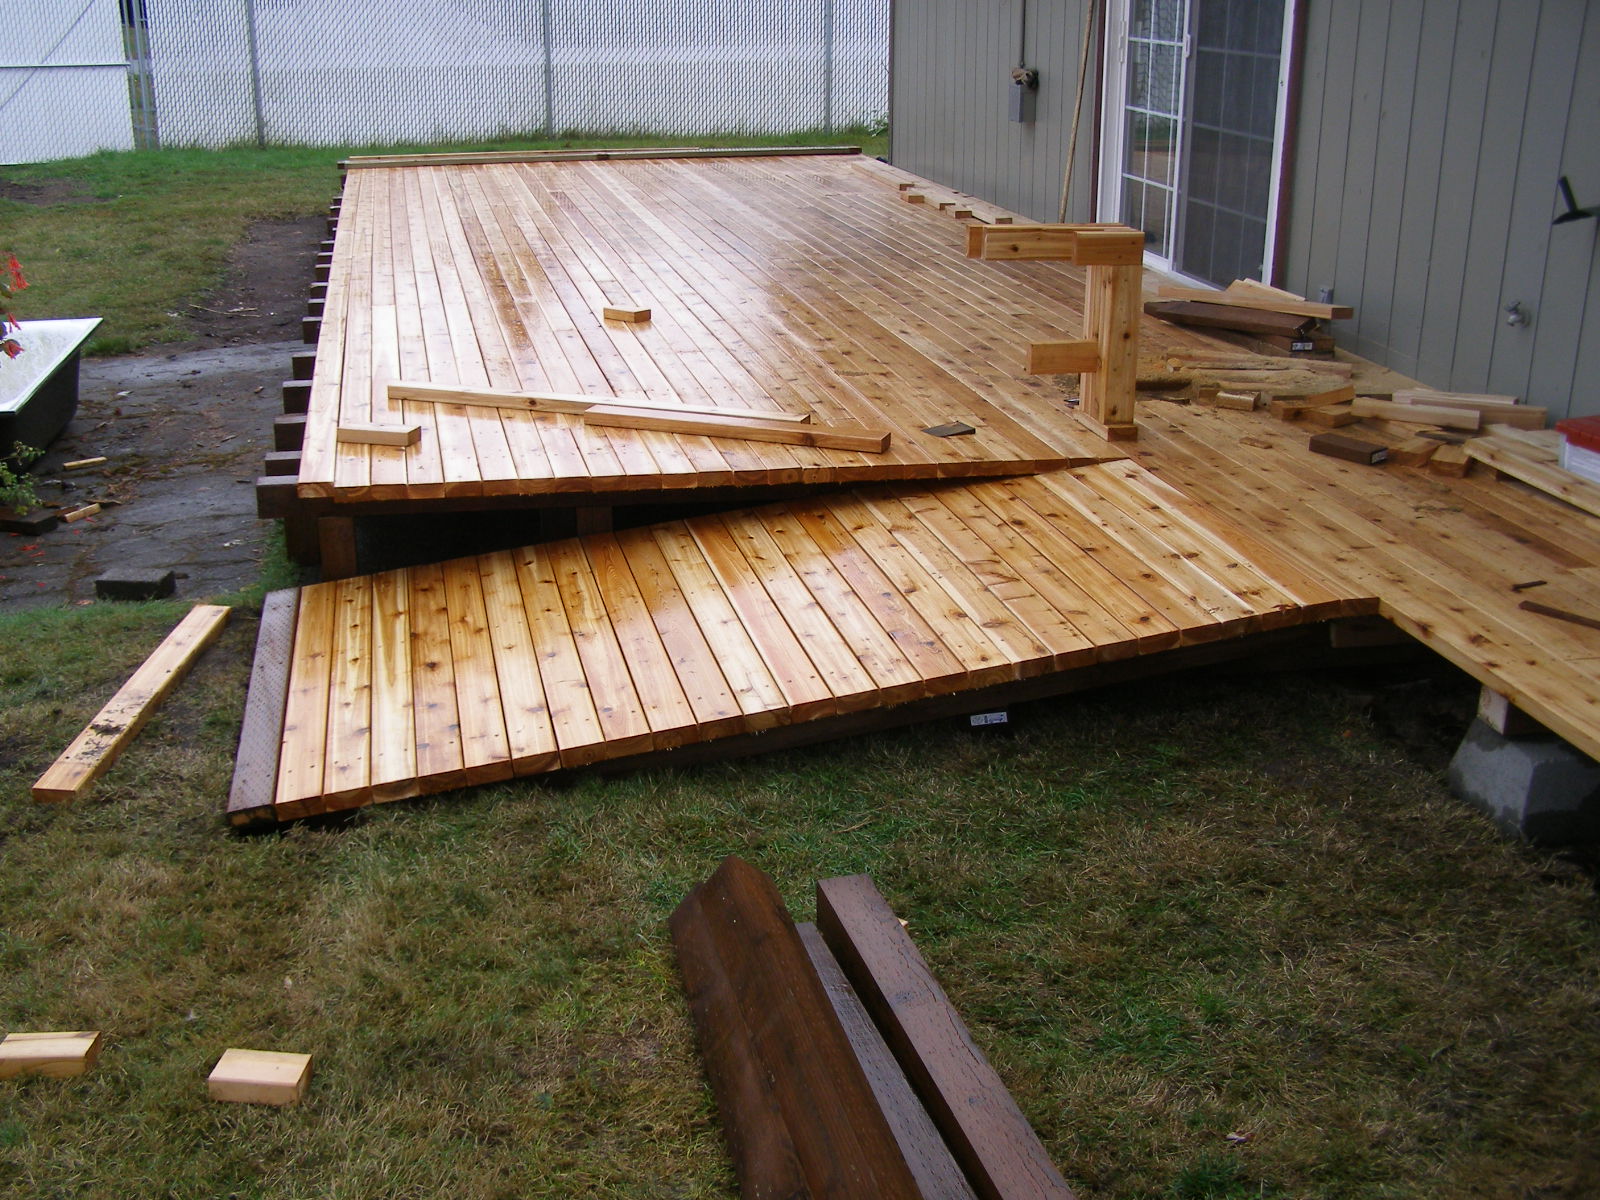
You can see there are more 4x4 joists and the cedar deck is strting to be screwed down.

Cutting out the new stringers in the garage.
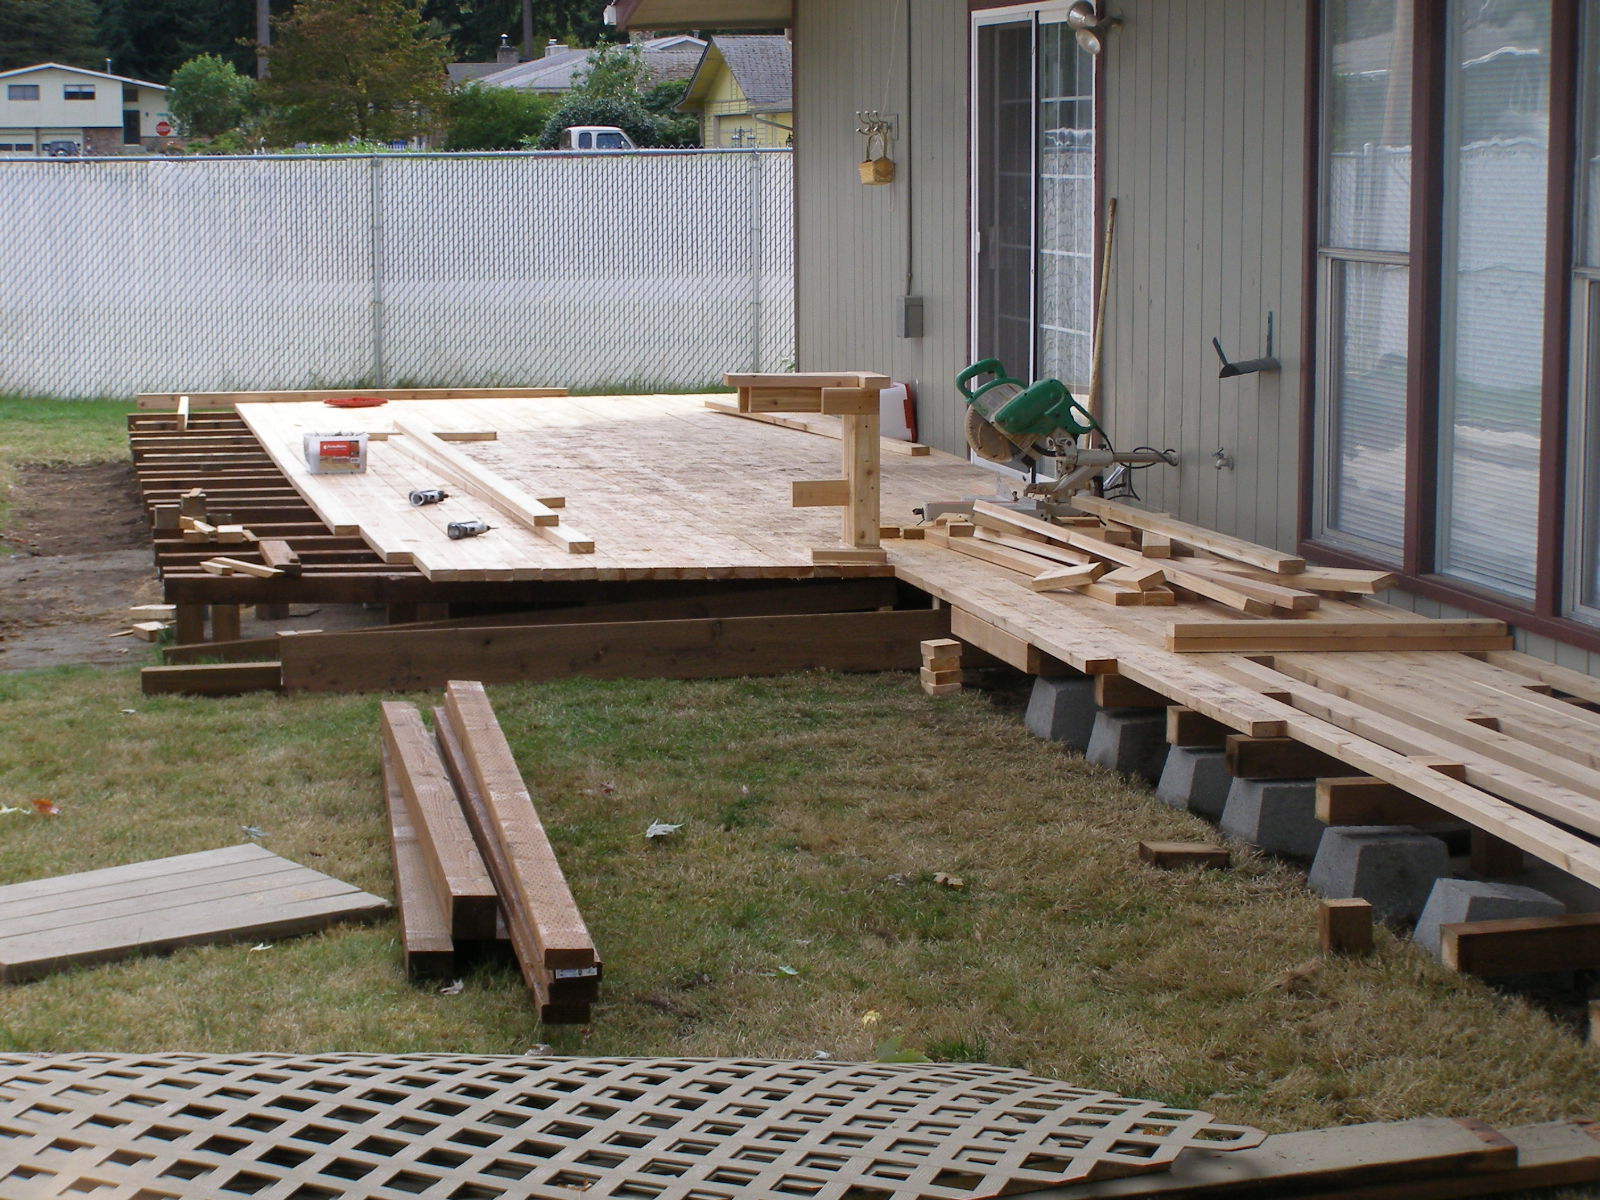
The main deck is nearing completion and a "sidewalk" added.
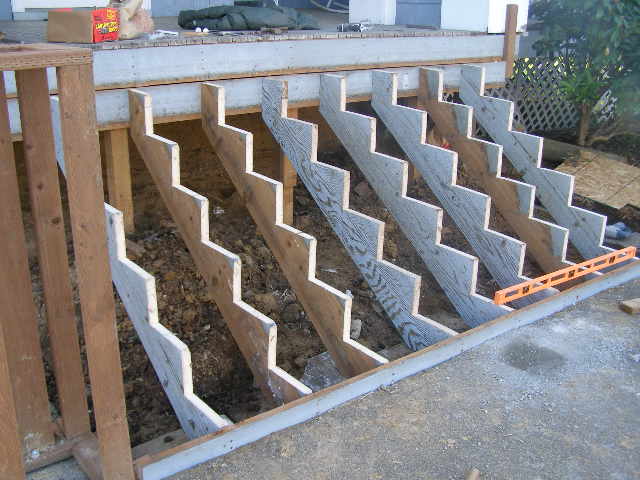
Stringers placed 16 inches on center.
The wheelchair ramkp is added.
Fabricating the side walls and square pillars to match a picture of what these stairs looked like originally.
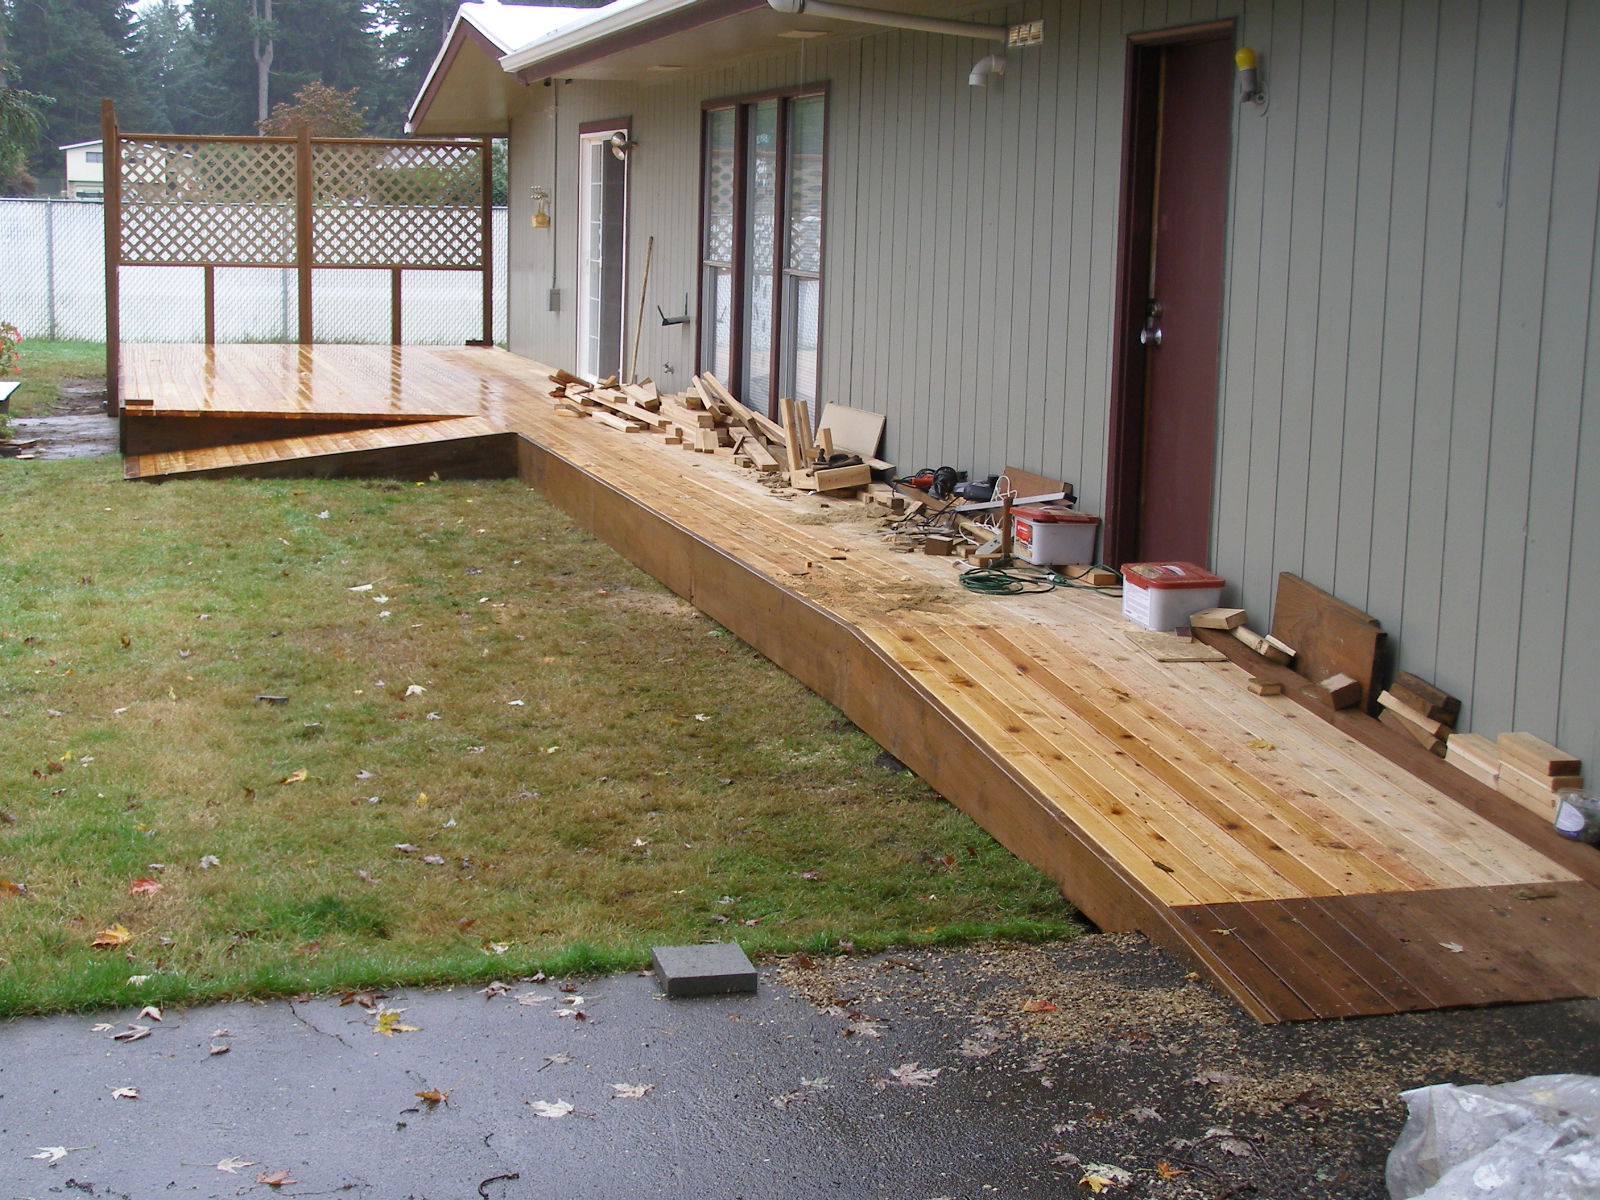
Wheelchair ramp was added to the end of the "sidewalk"
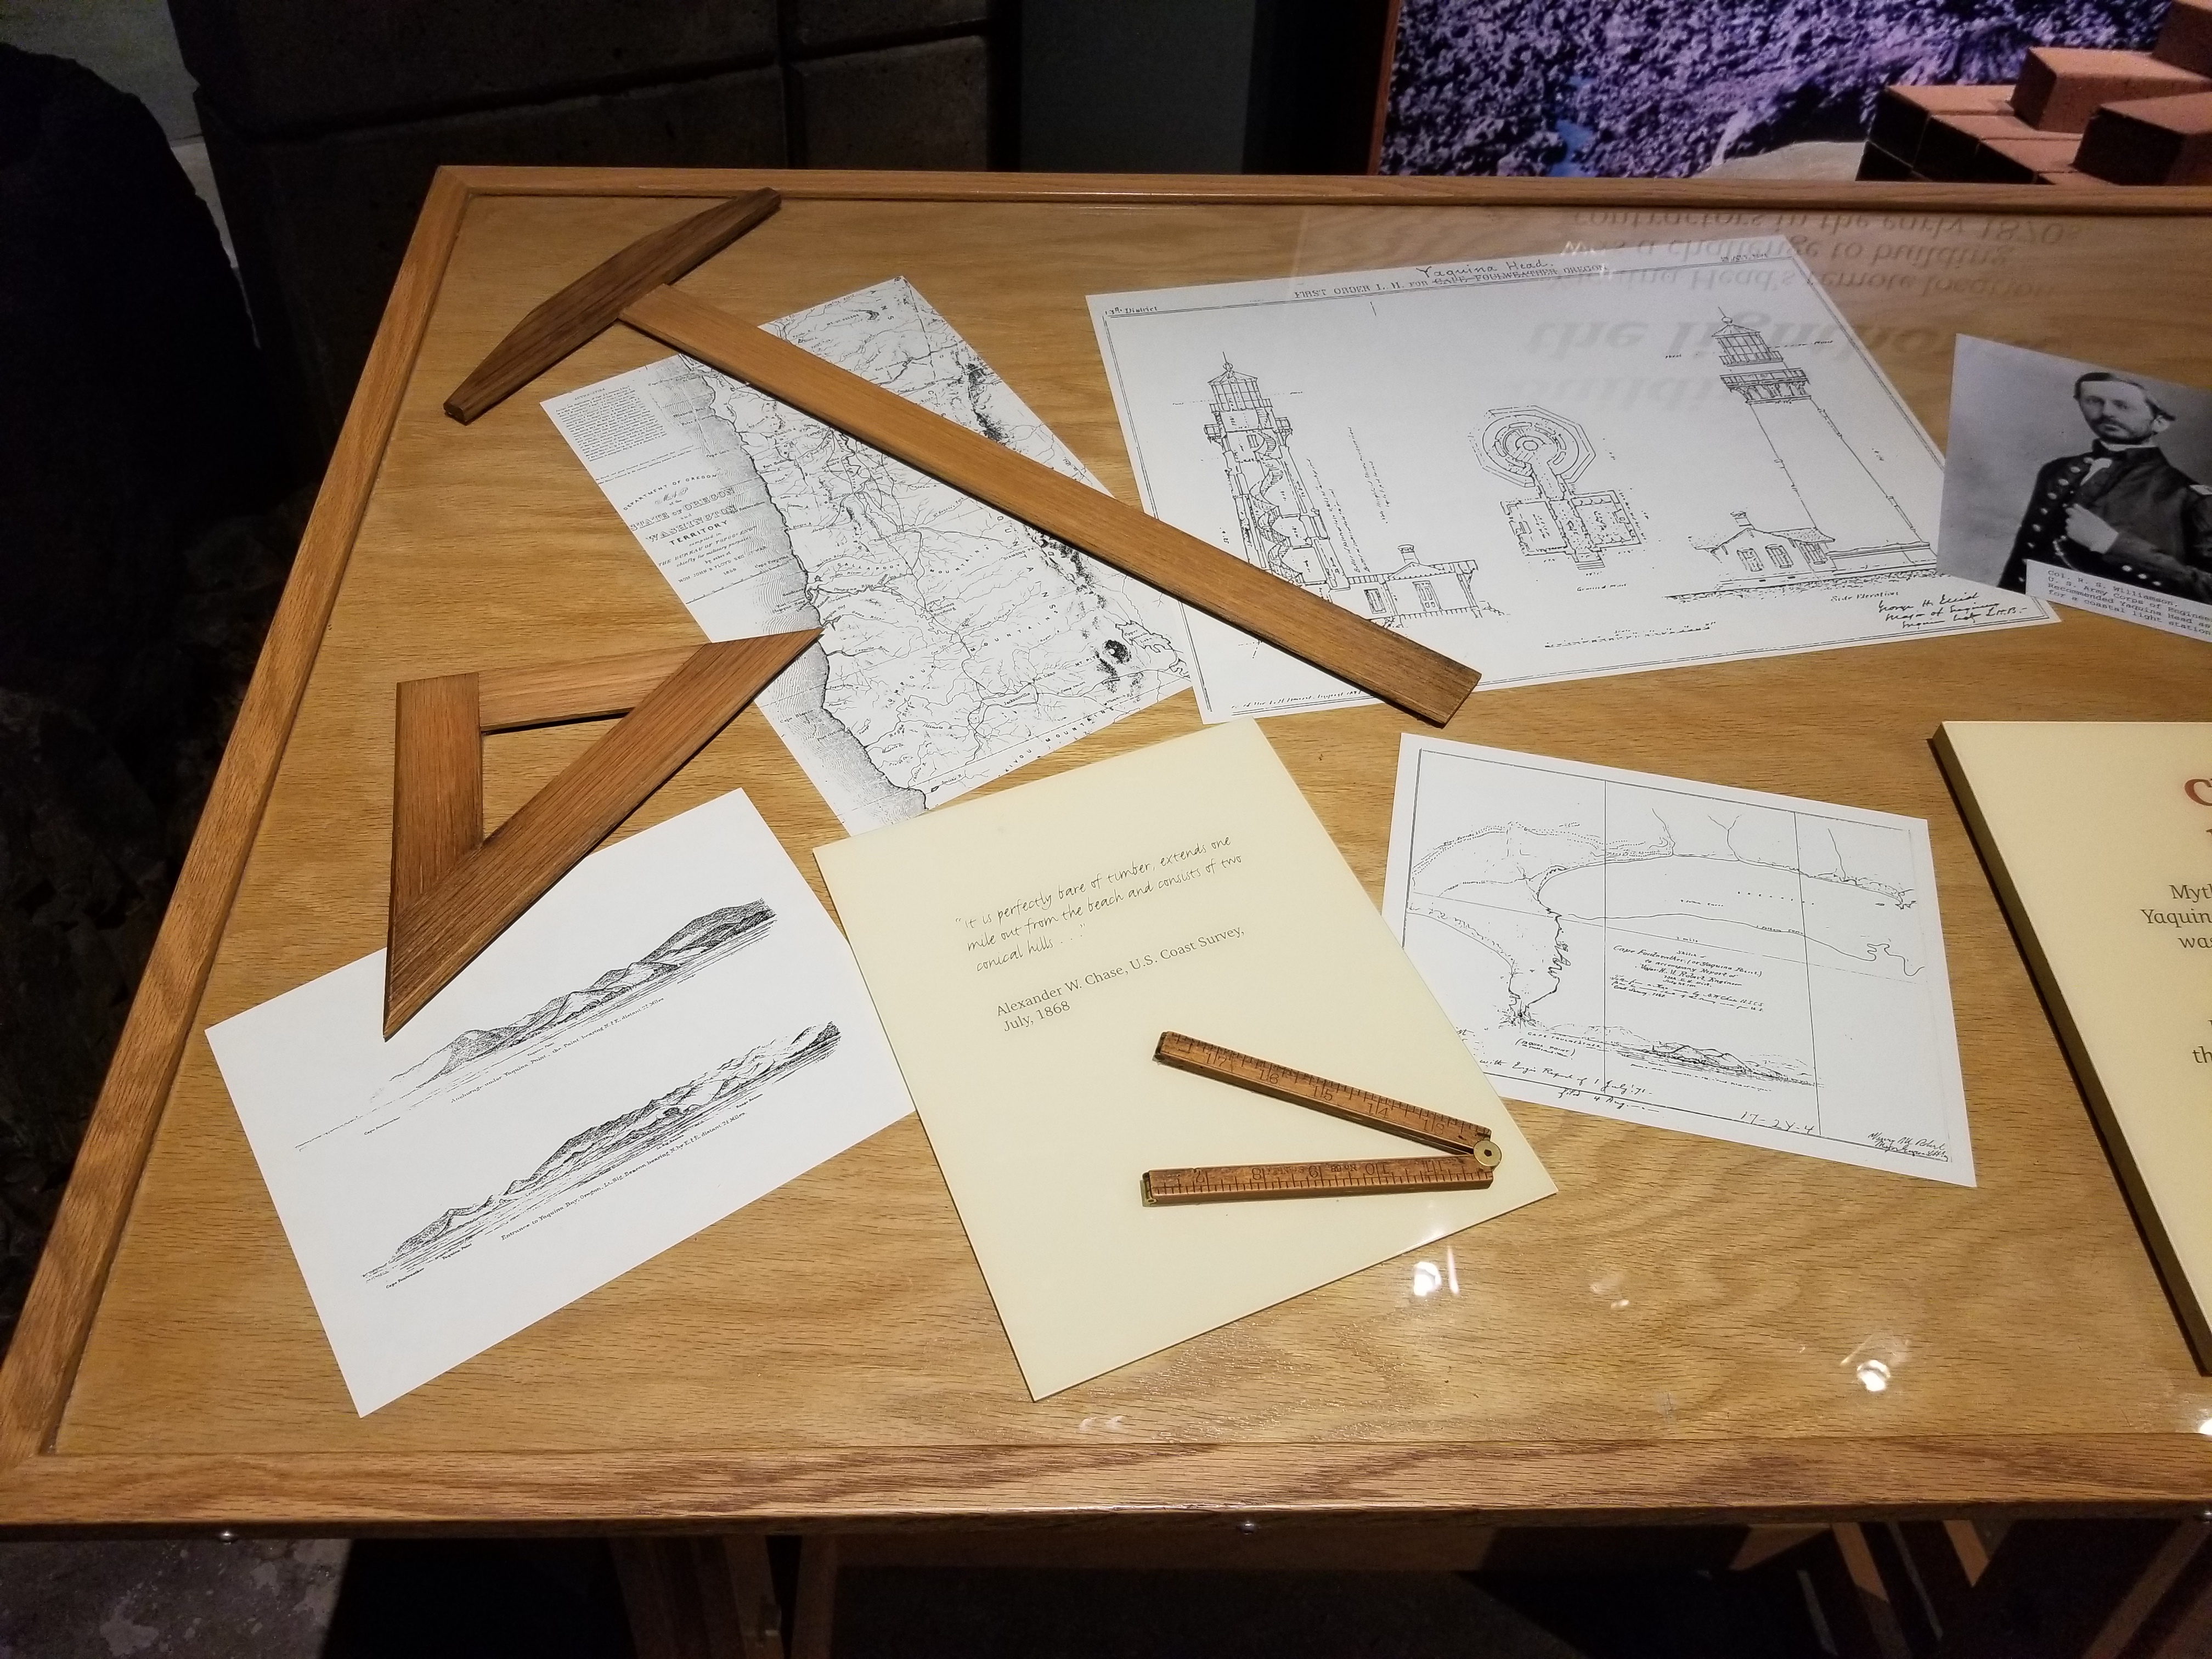
Design tools used in creating a new lighthouse.
Adding side panels to the frame.
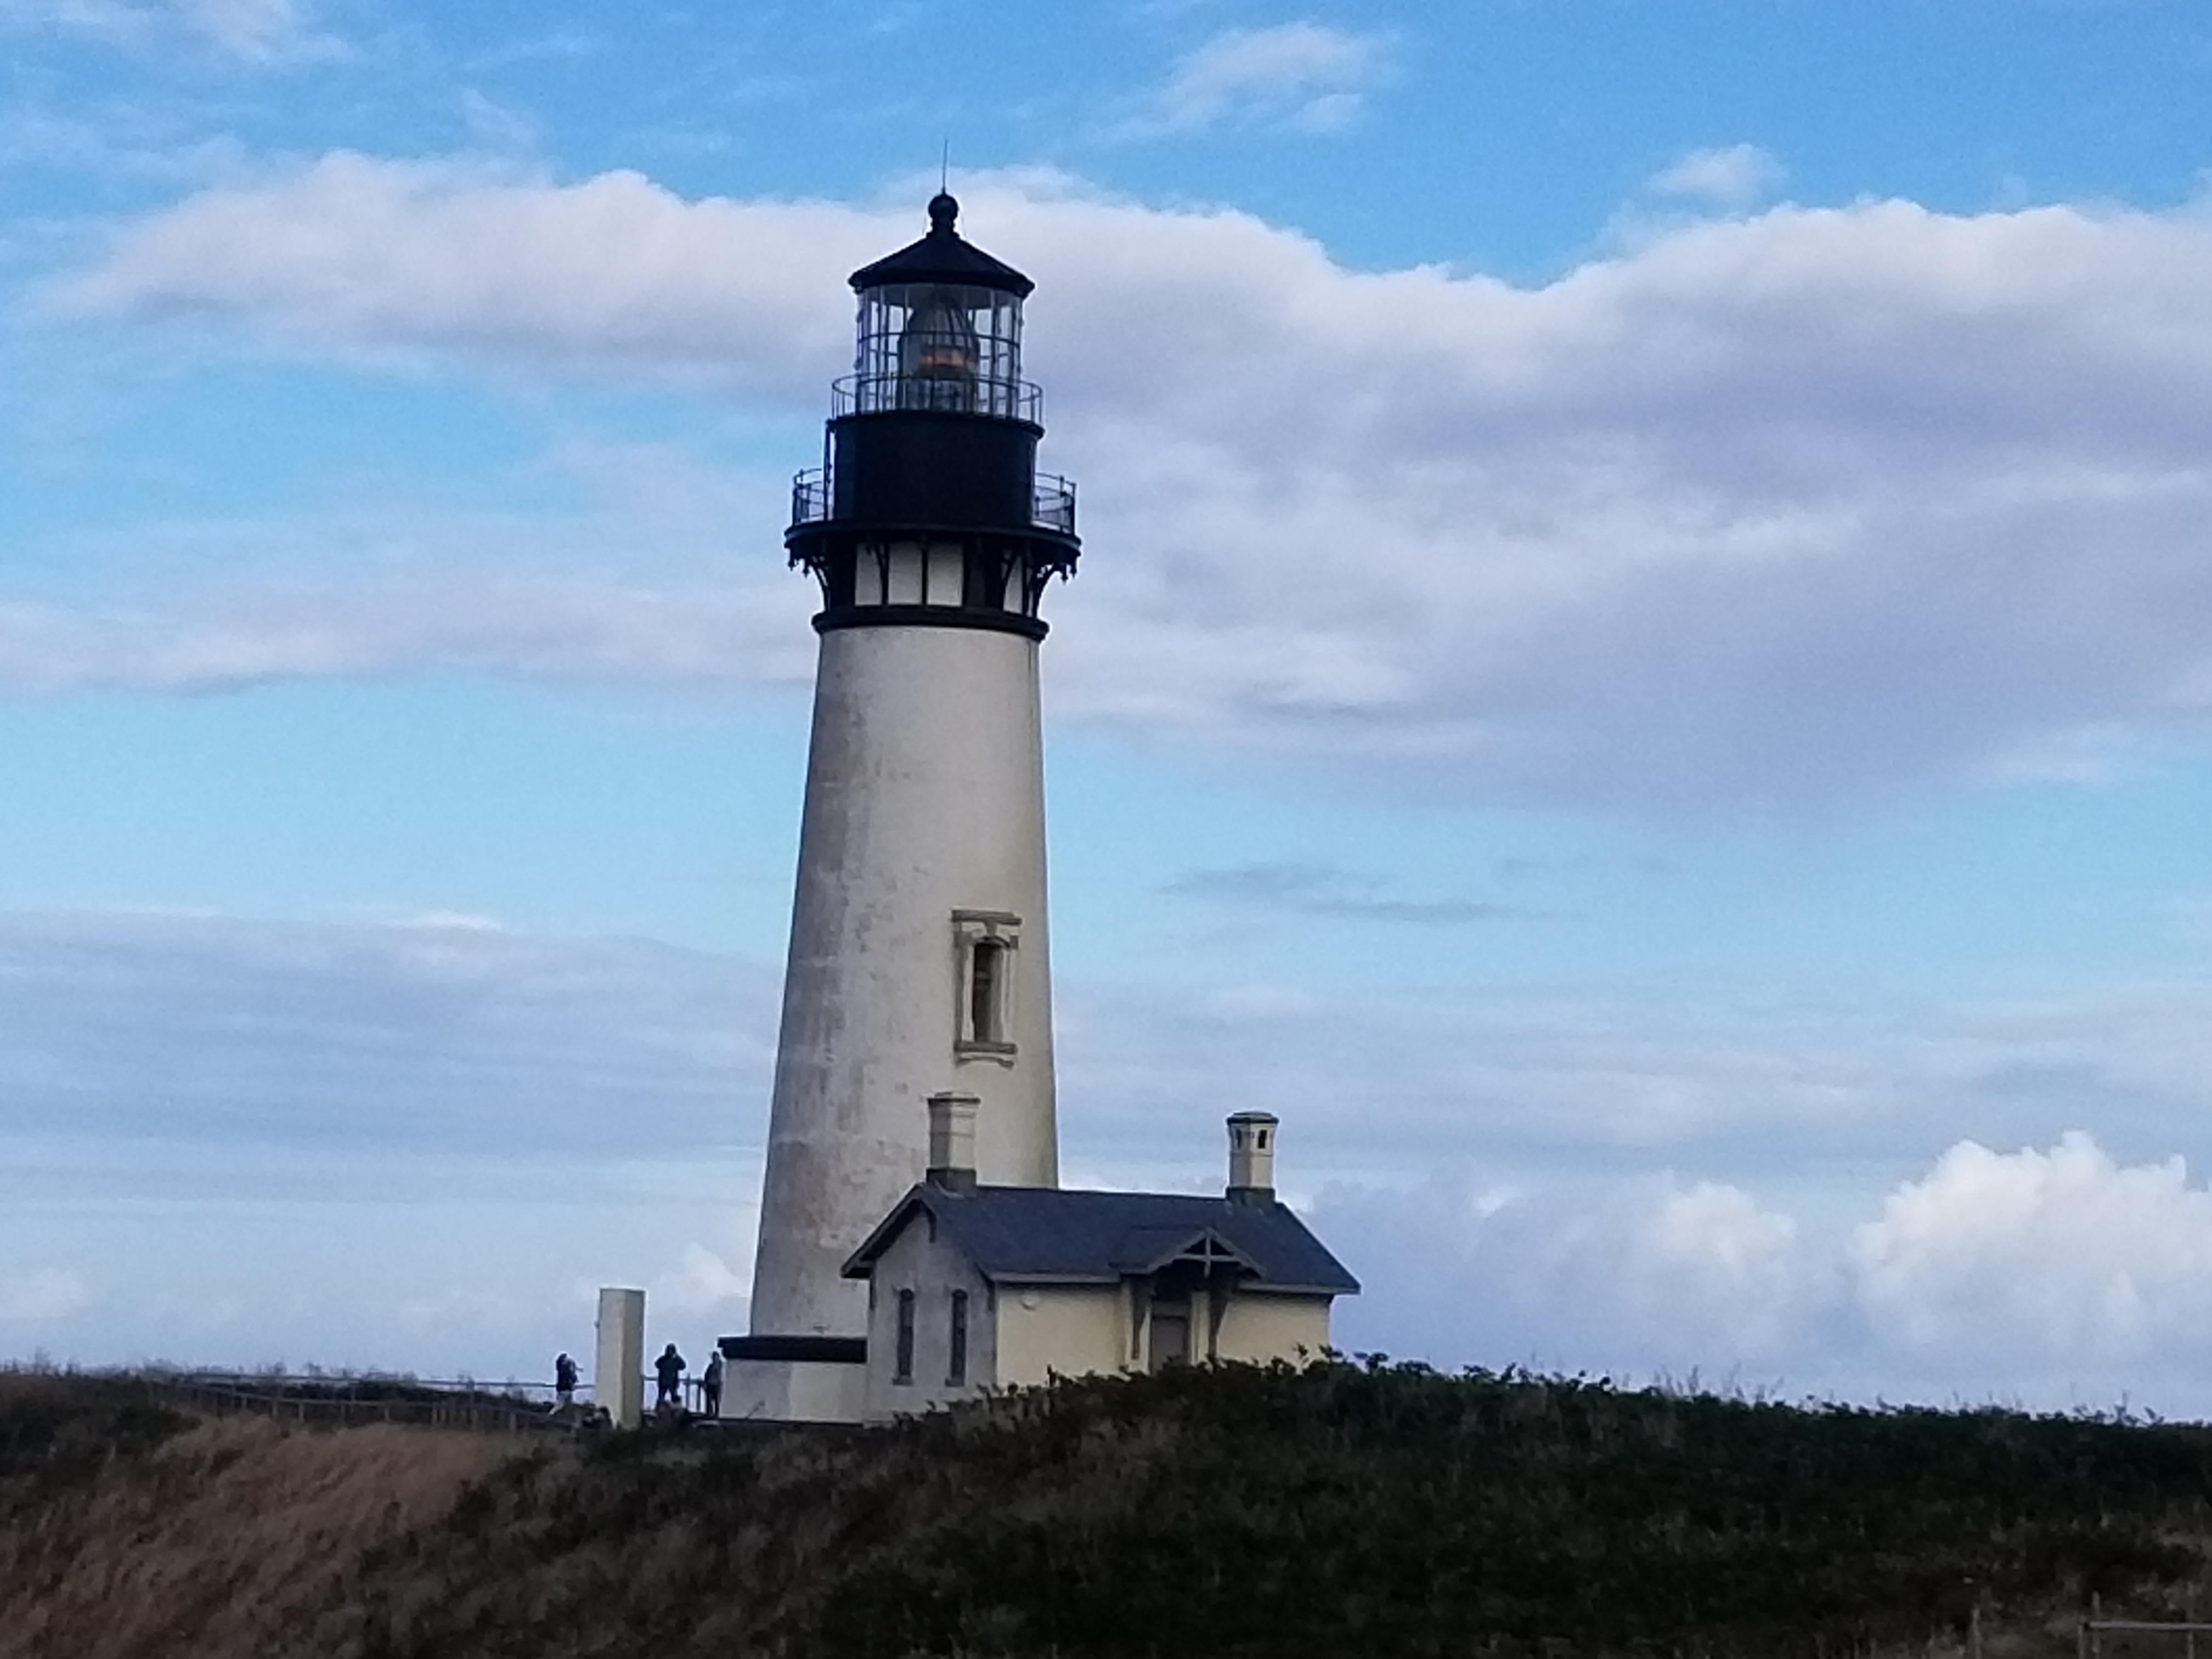
A lighthouse on Western Washington coast.
The new risers in place.
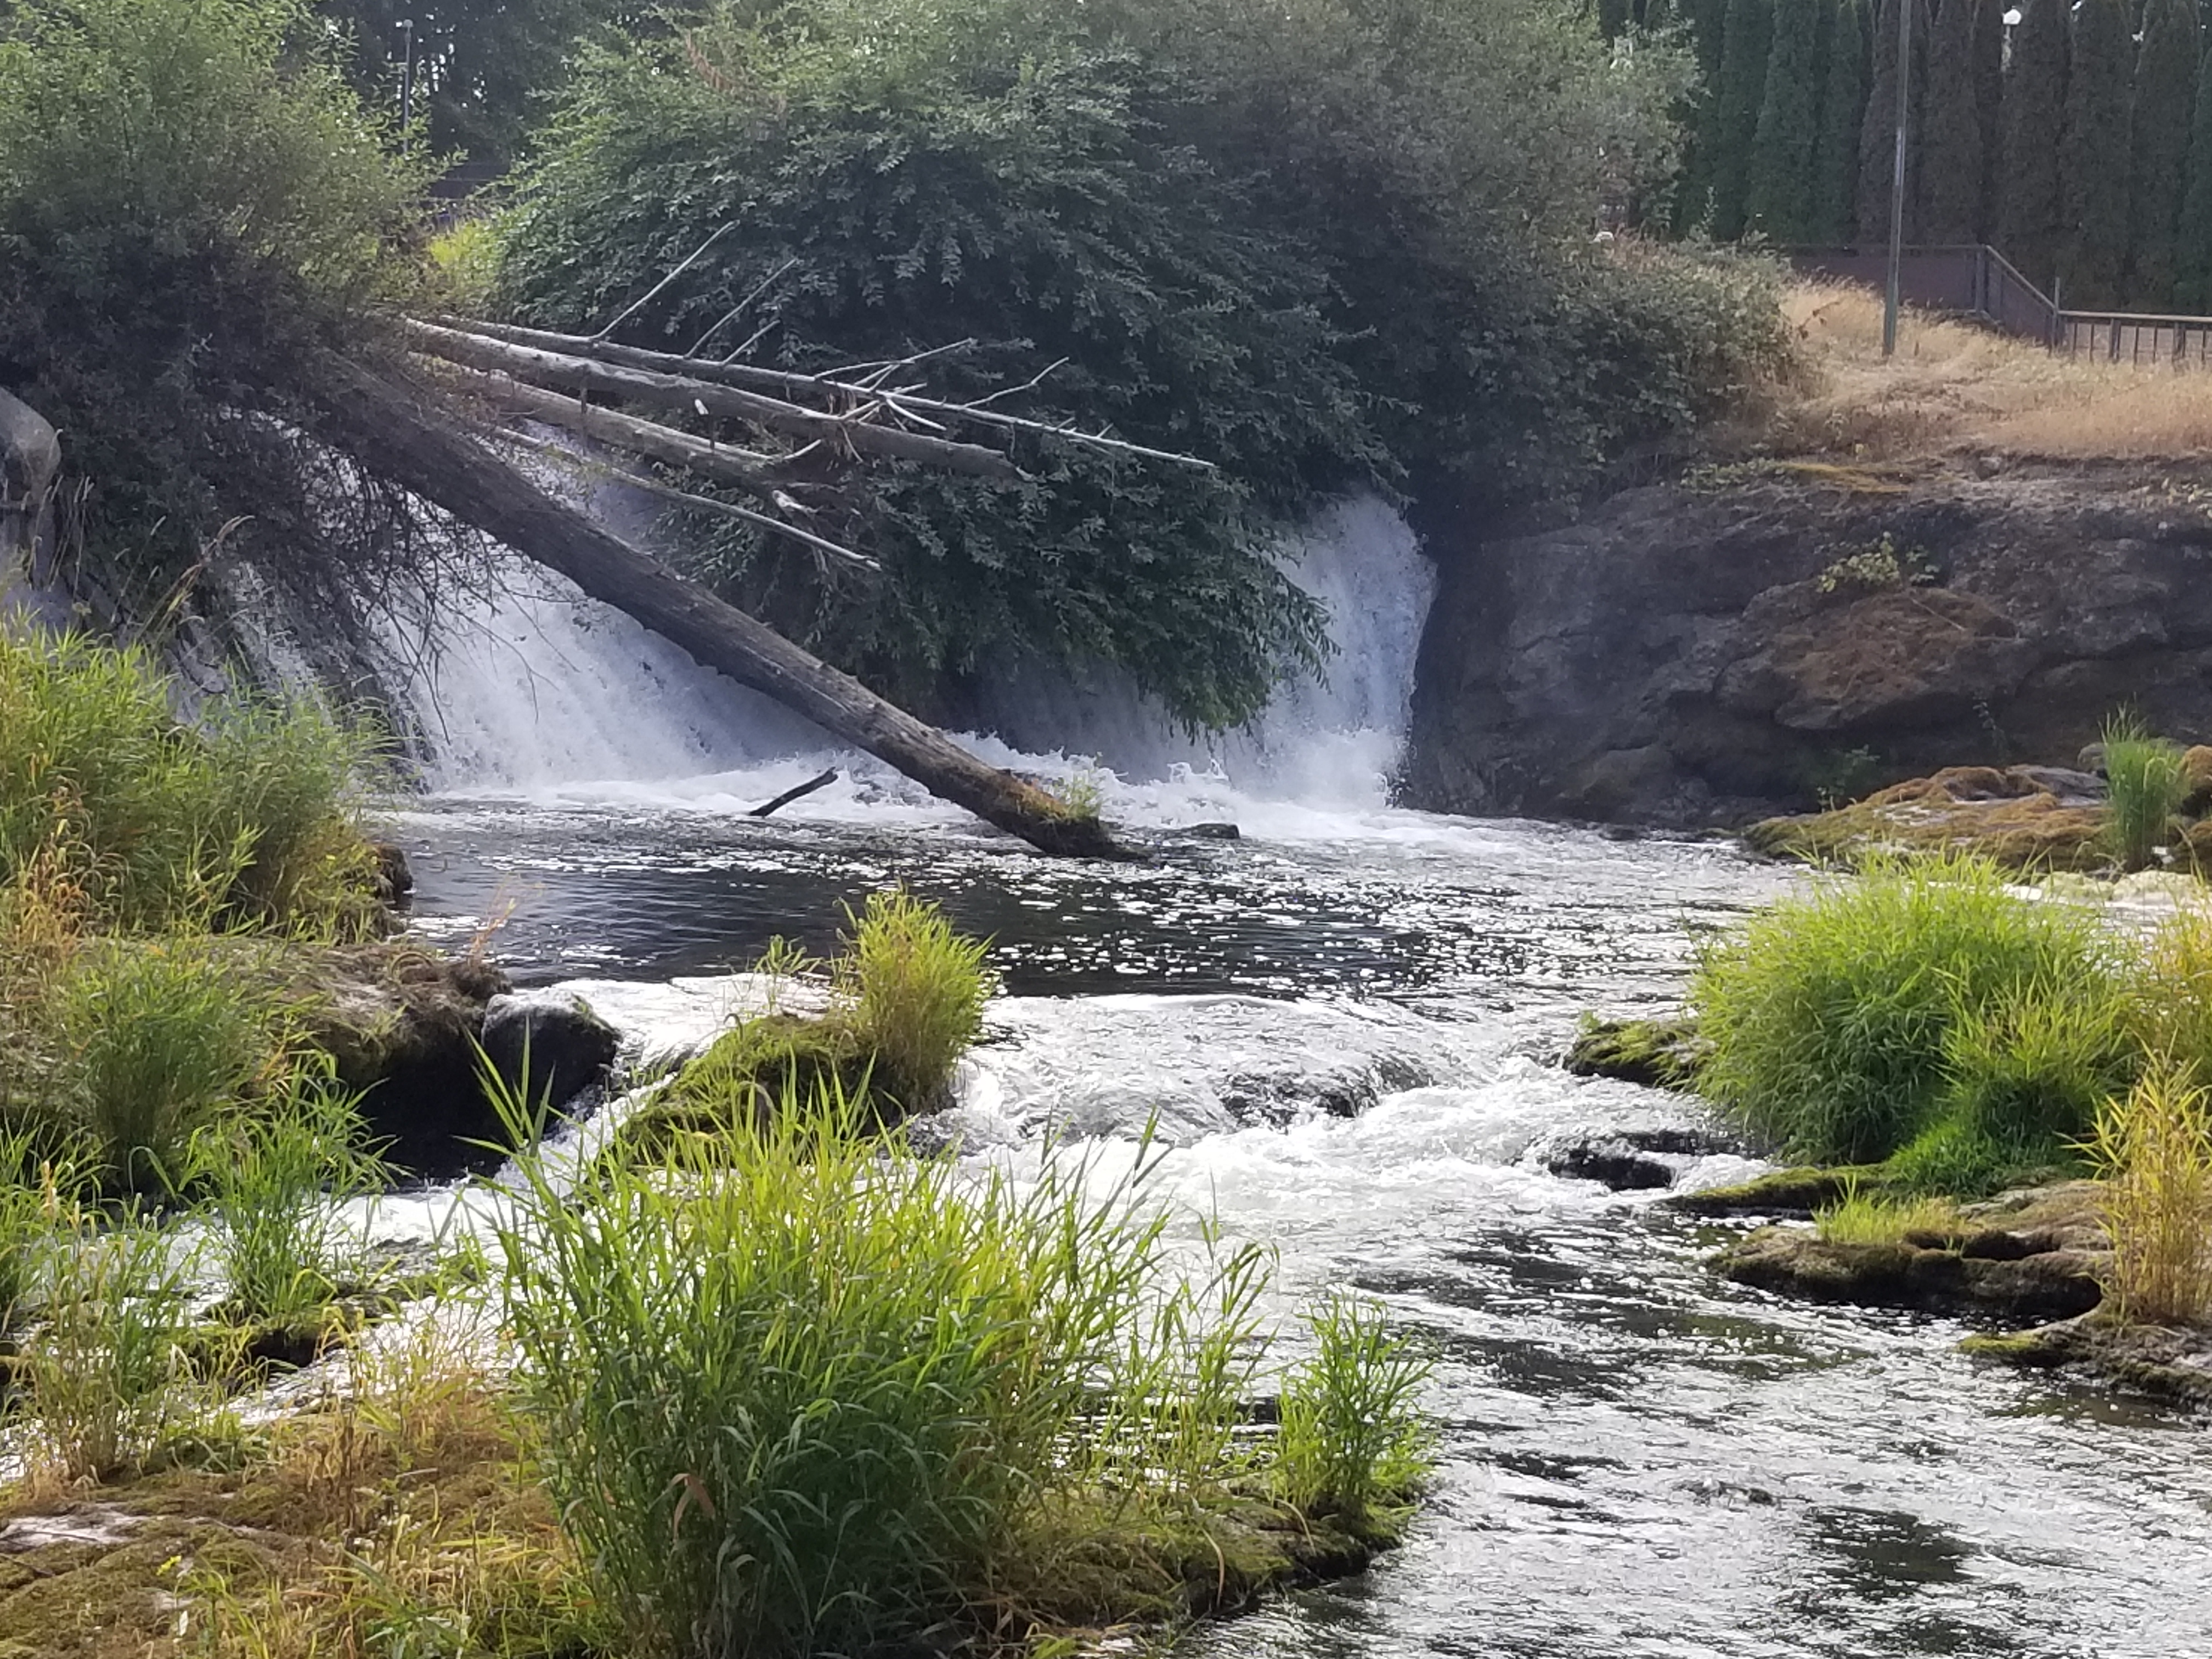
Tumwater Falls in Tumwater, WA
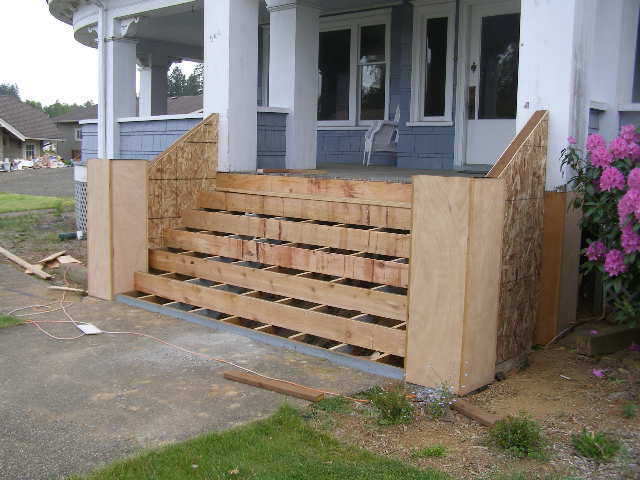
Starting to take shape. Notice the wrap around porch deck.
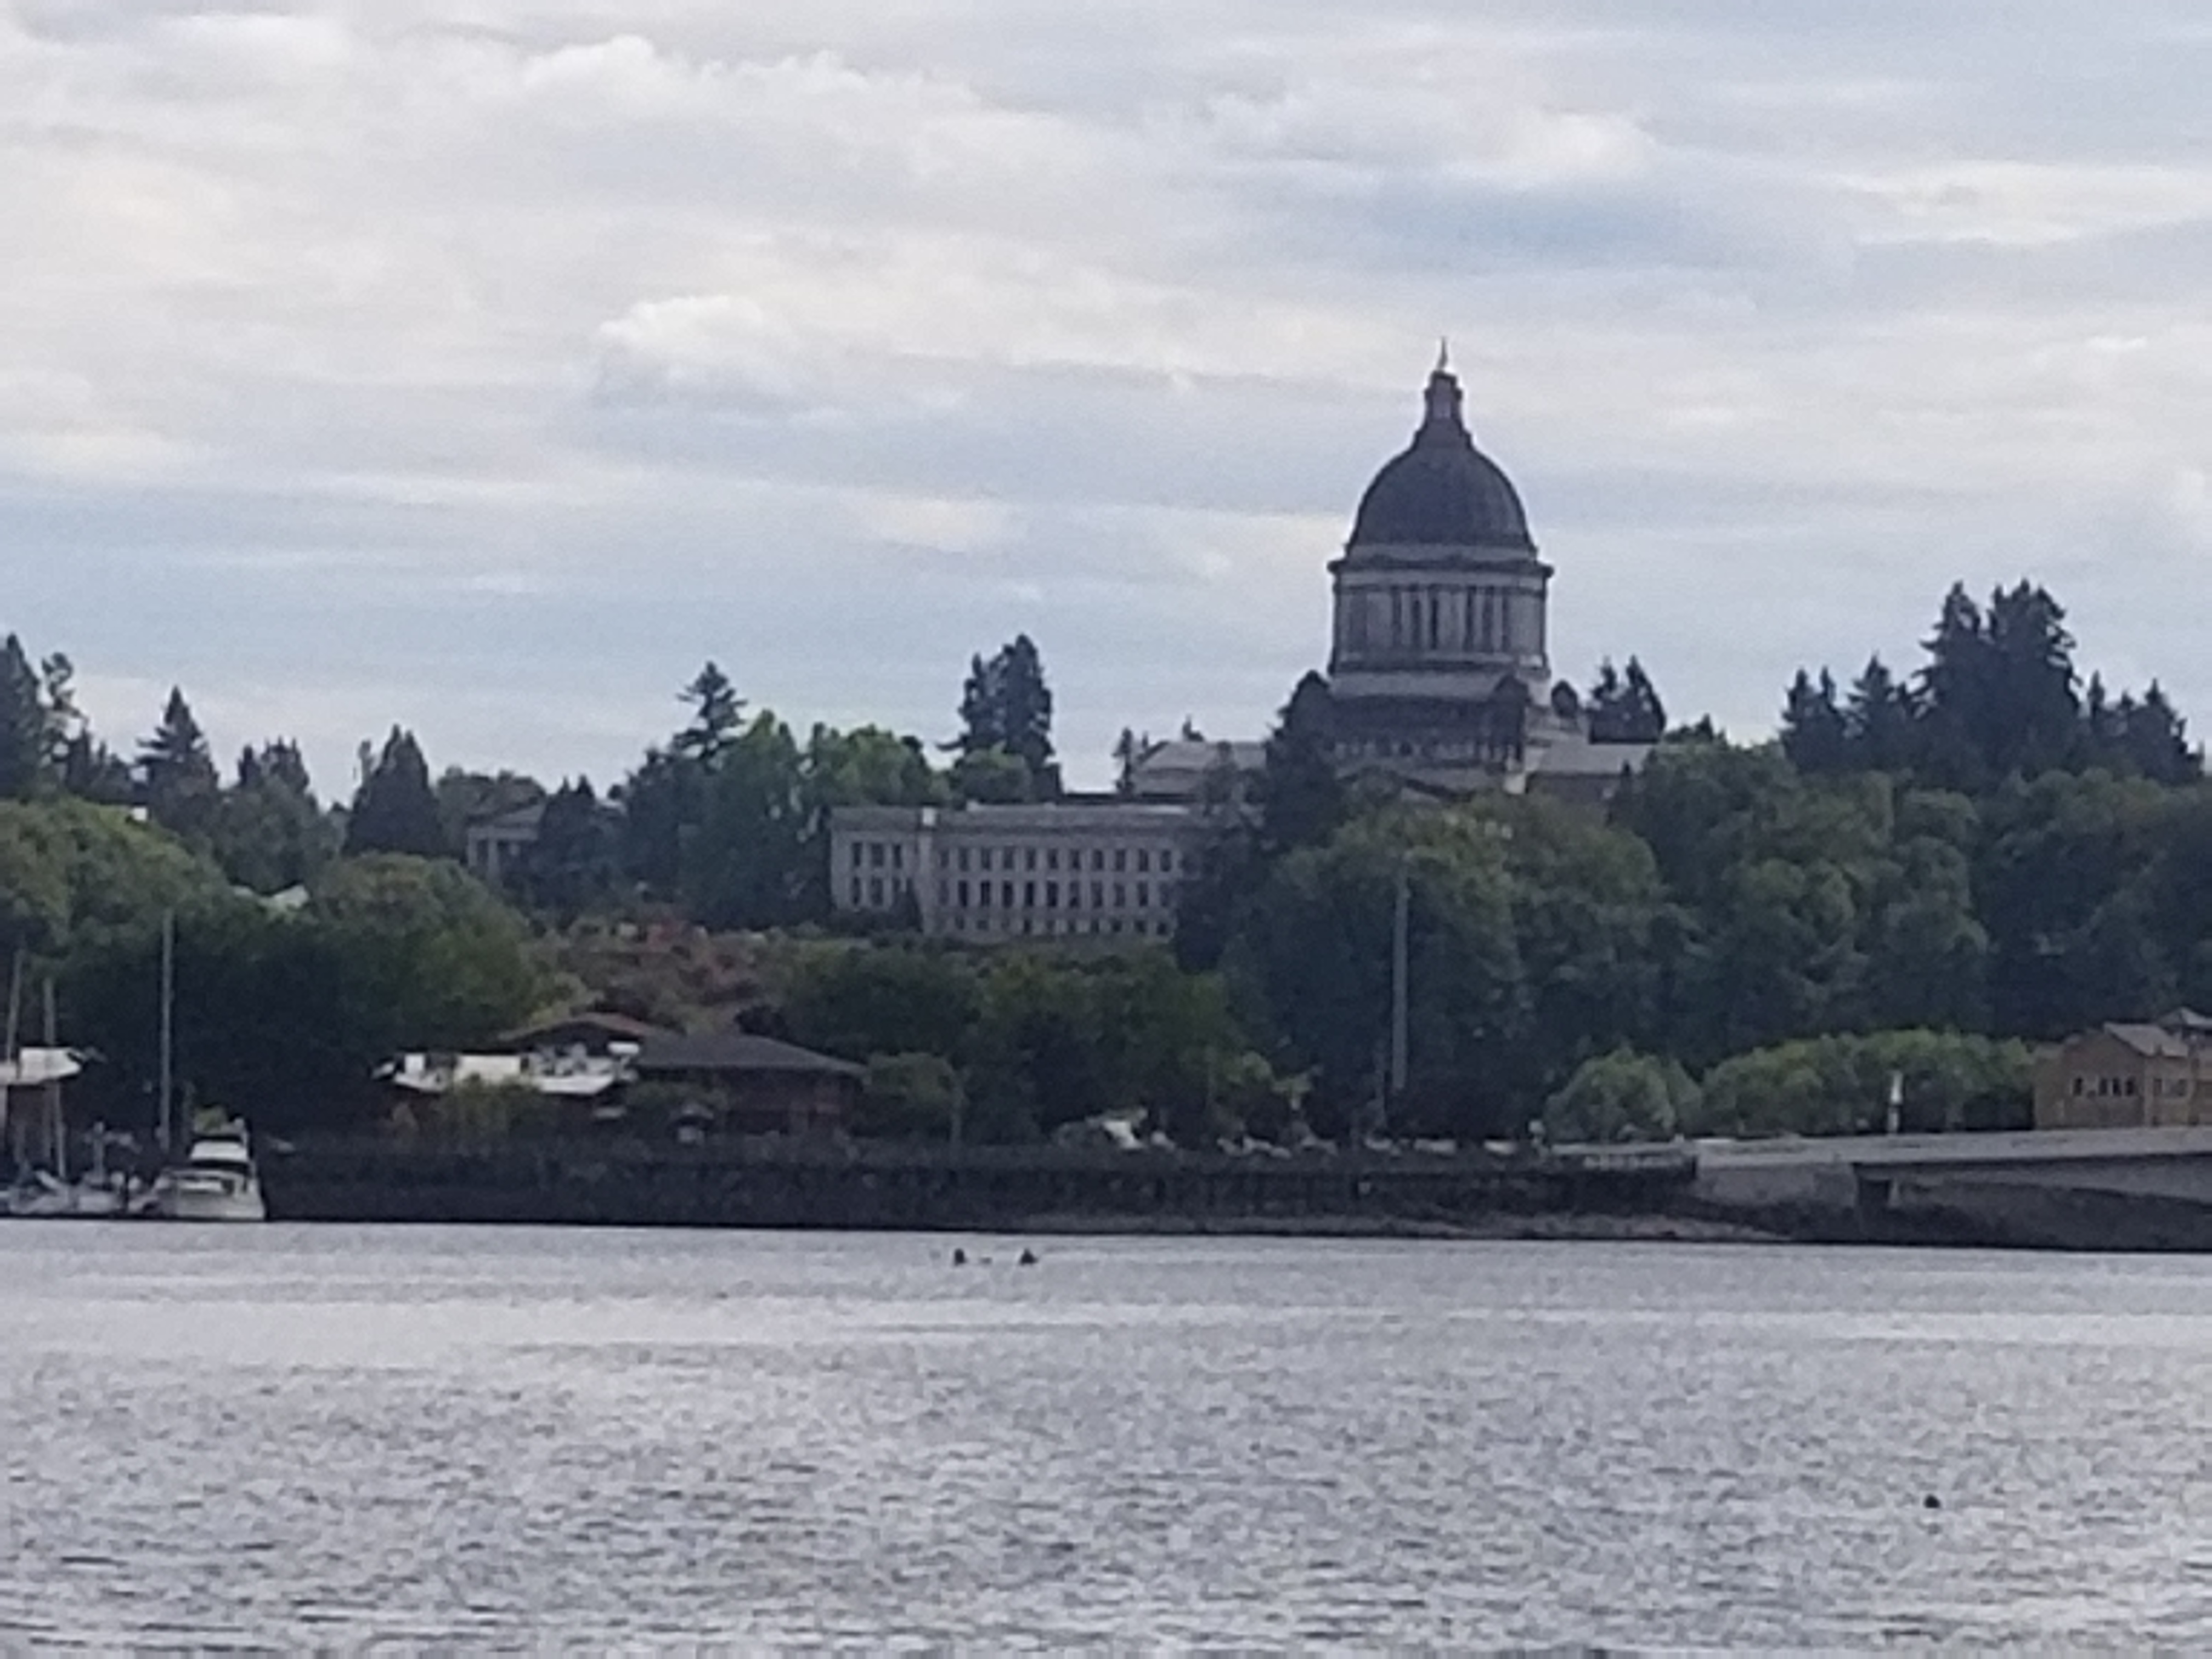
Washington State Capitol building in Olympia, WA
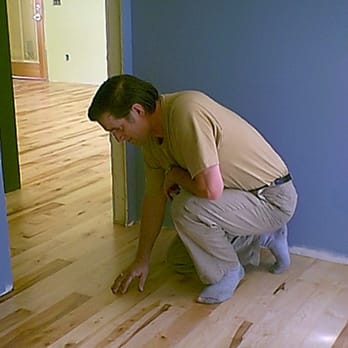
Looking at rhe beautiful colors in this maple floor.
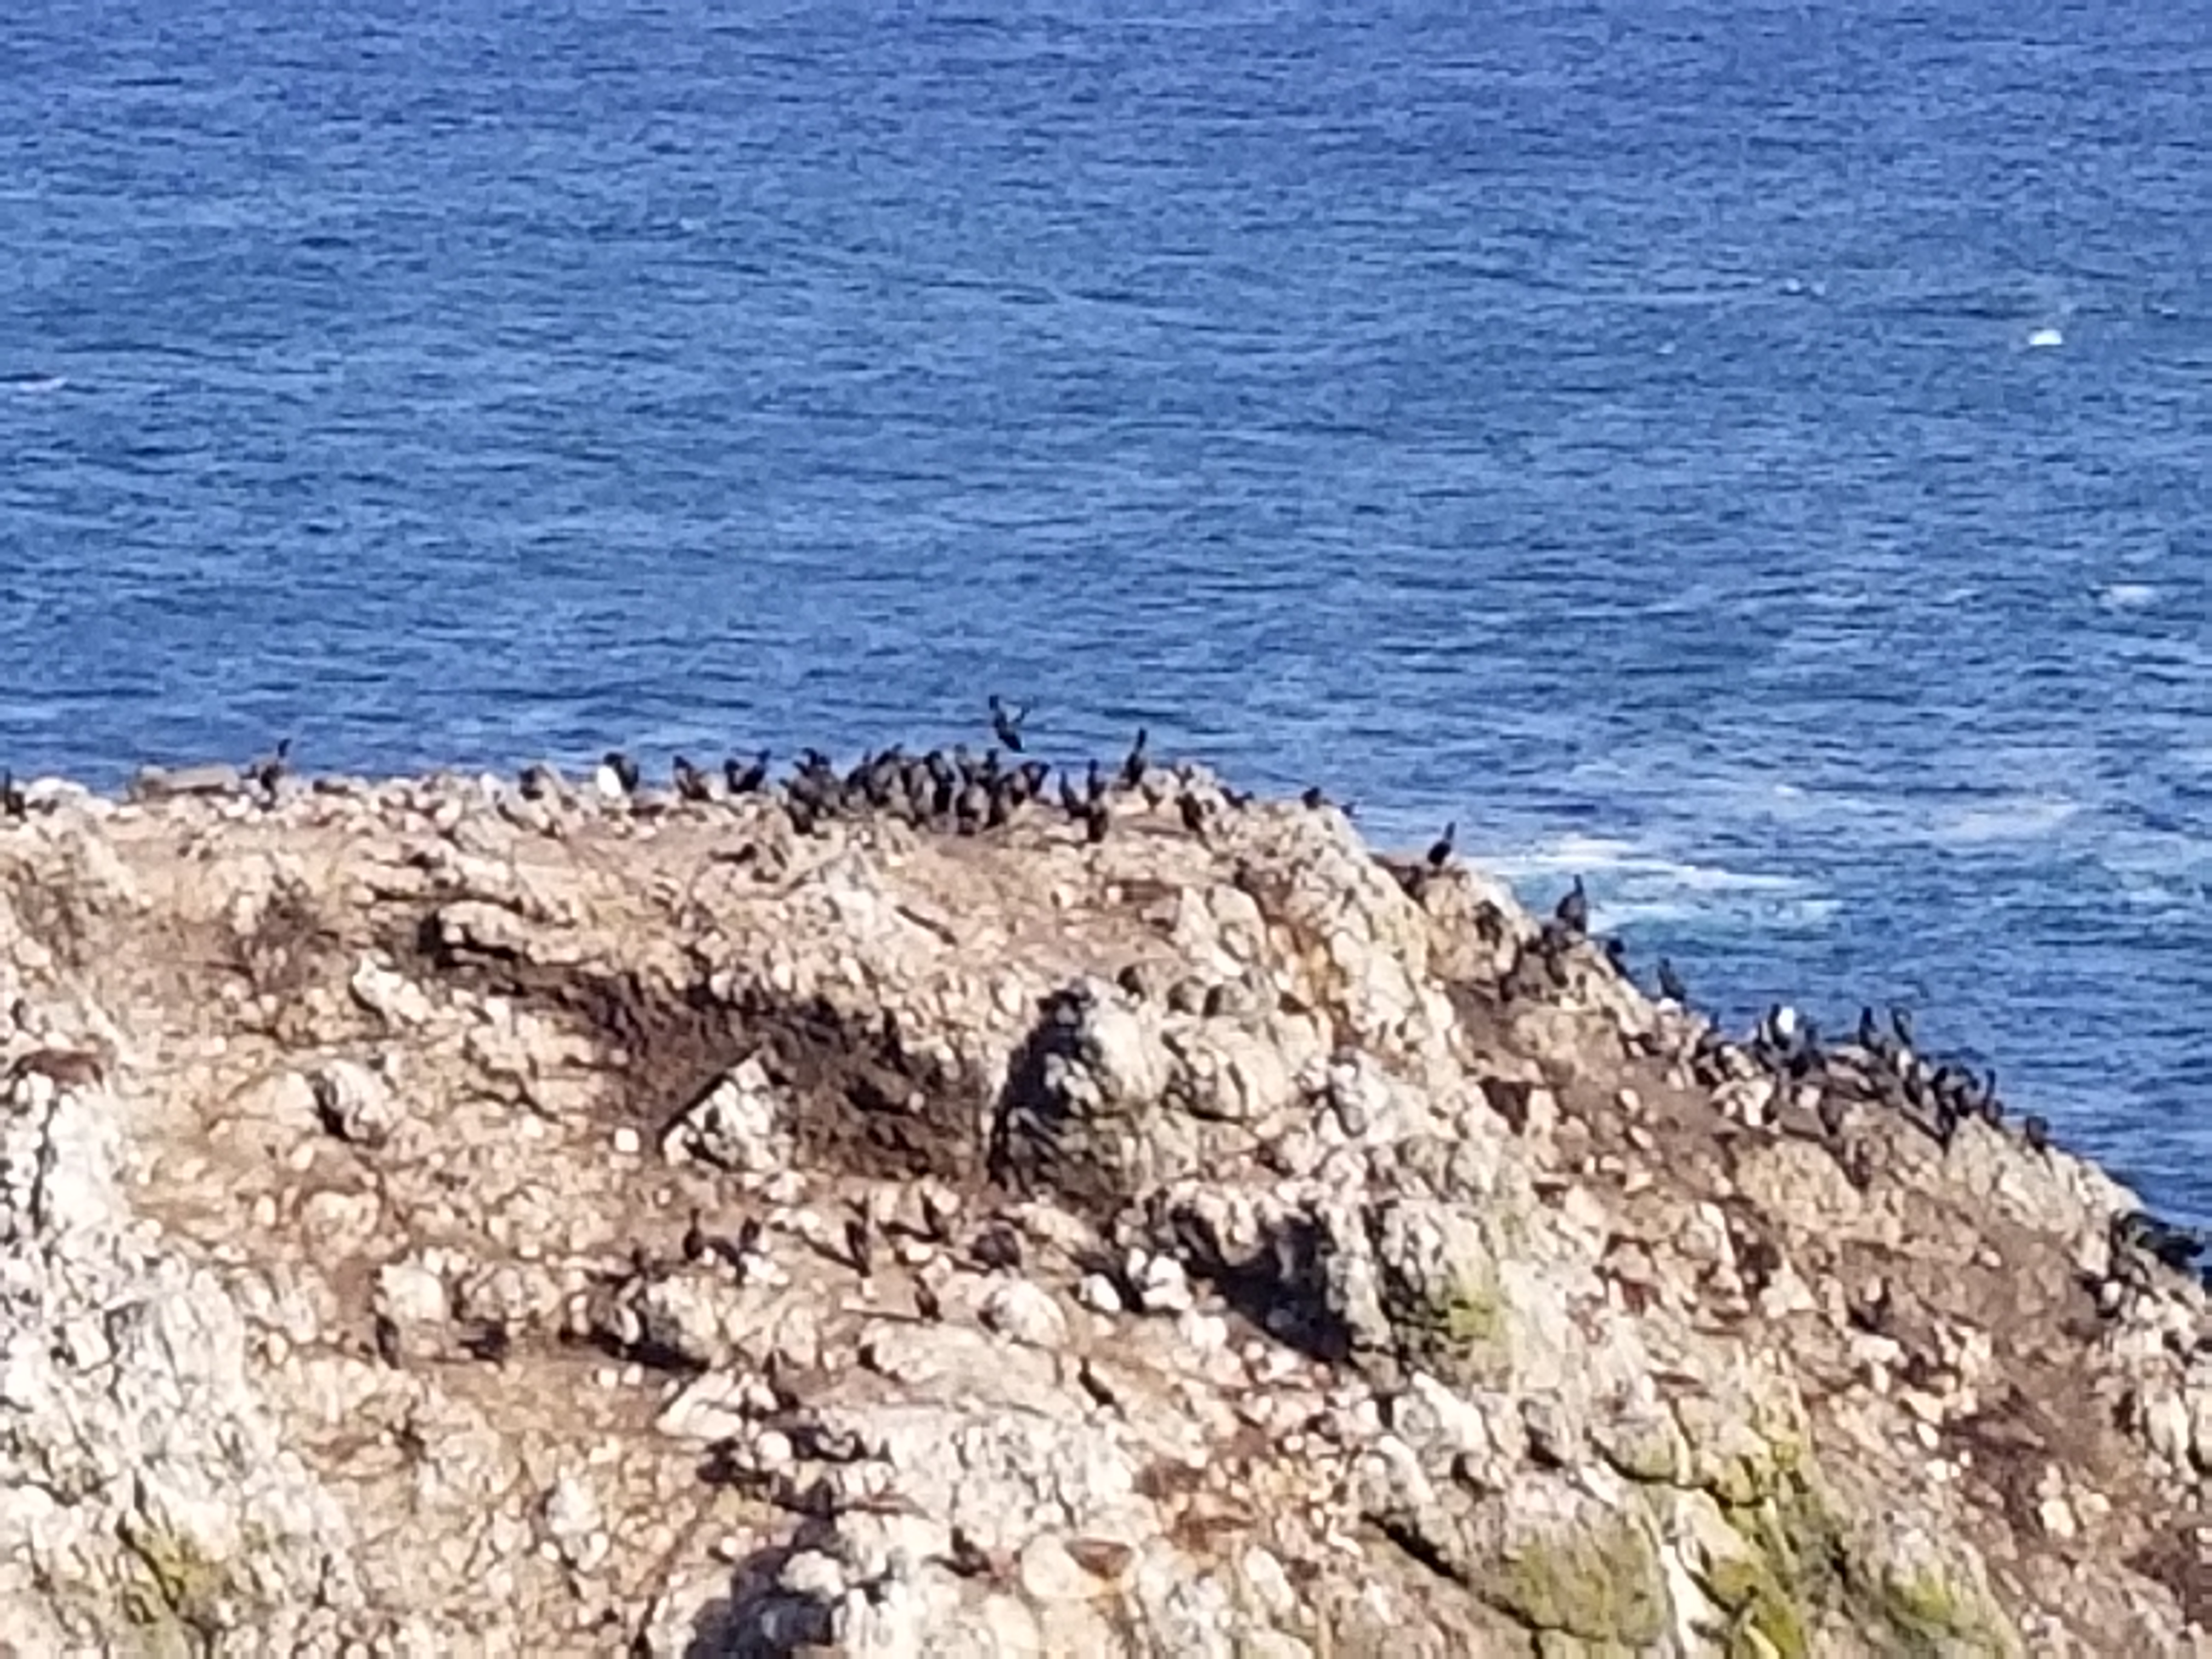
Pelicans gathered on Washington coast.
